
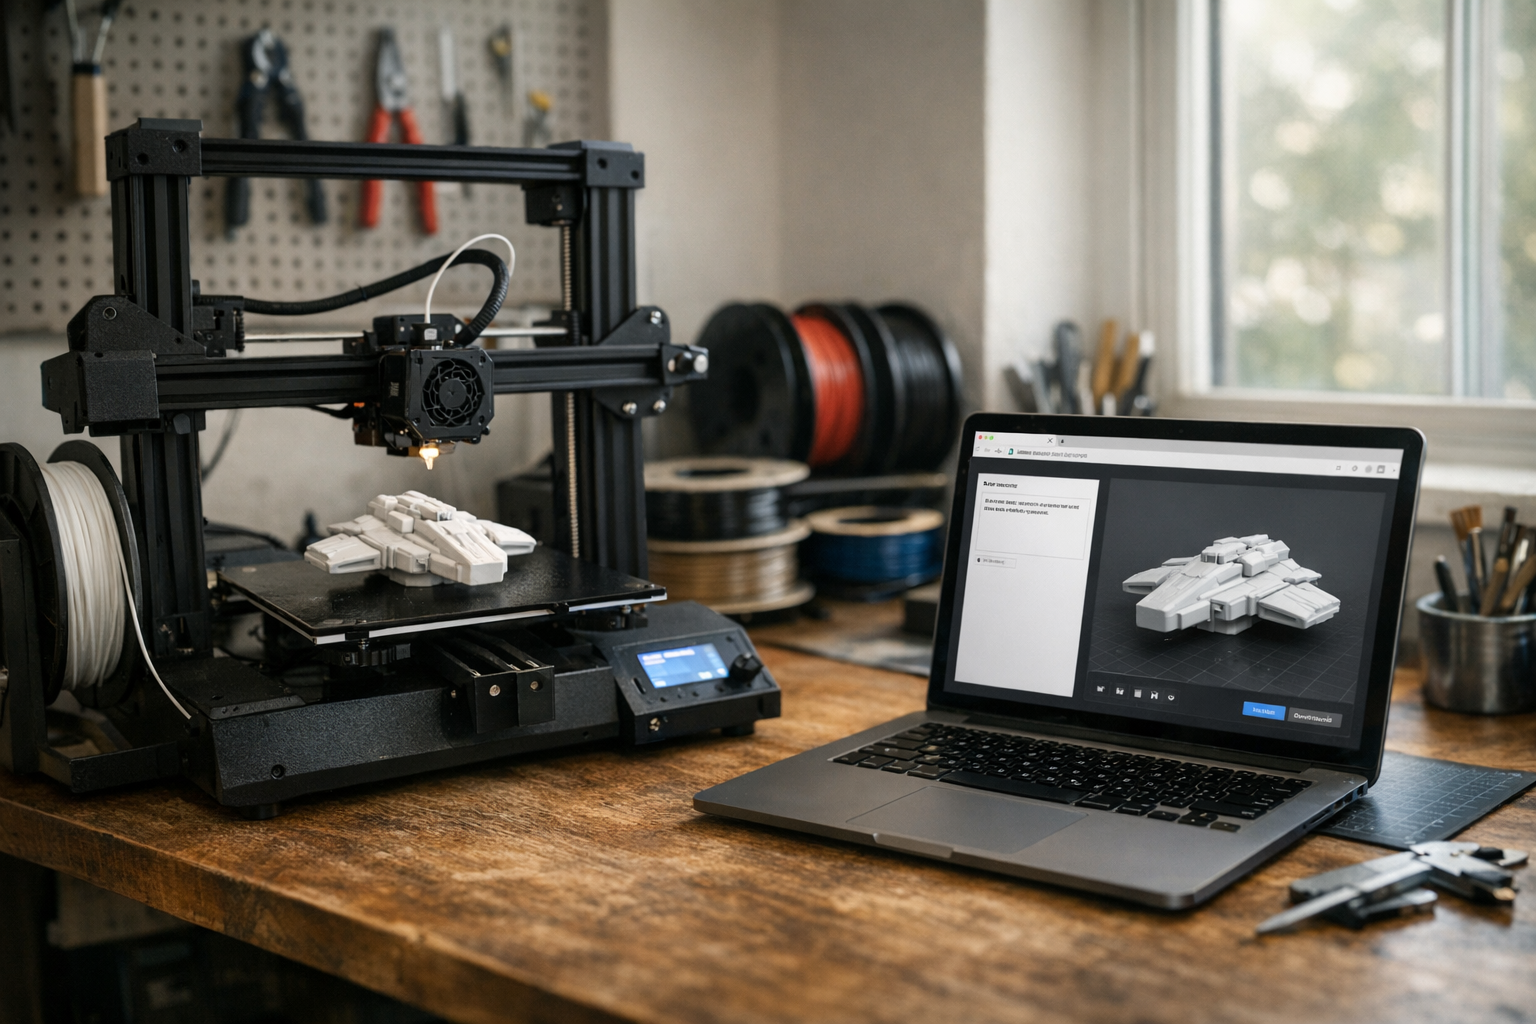

Text to 3D for STL files isn’t science fiction anymore. It’s the workflow I use to turn ideas like “geometric pencil holder with hexagonal holes” into real, printable objects—no CAD skills required, no Blender headaches. If you’re a creator, developer, or 3D print enthusiast, you can now generate print-ready models from a simple prompt in your browser. Here’s how the process really works, what makes a good prompt, and how to avoid the pitfalls I see most often.
What text-to-3D means
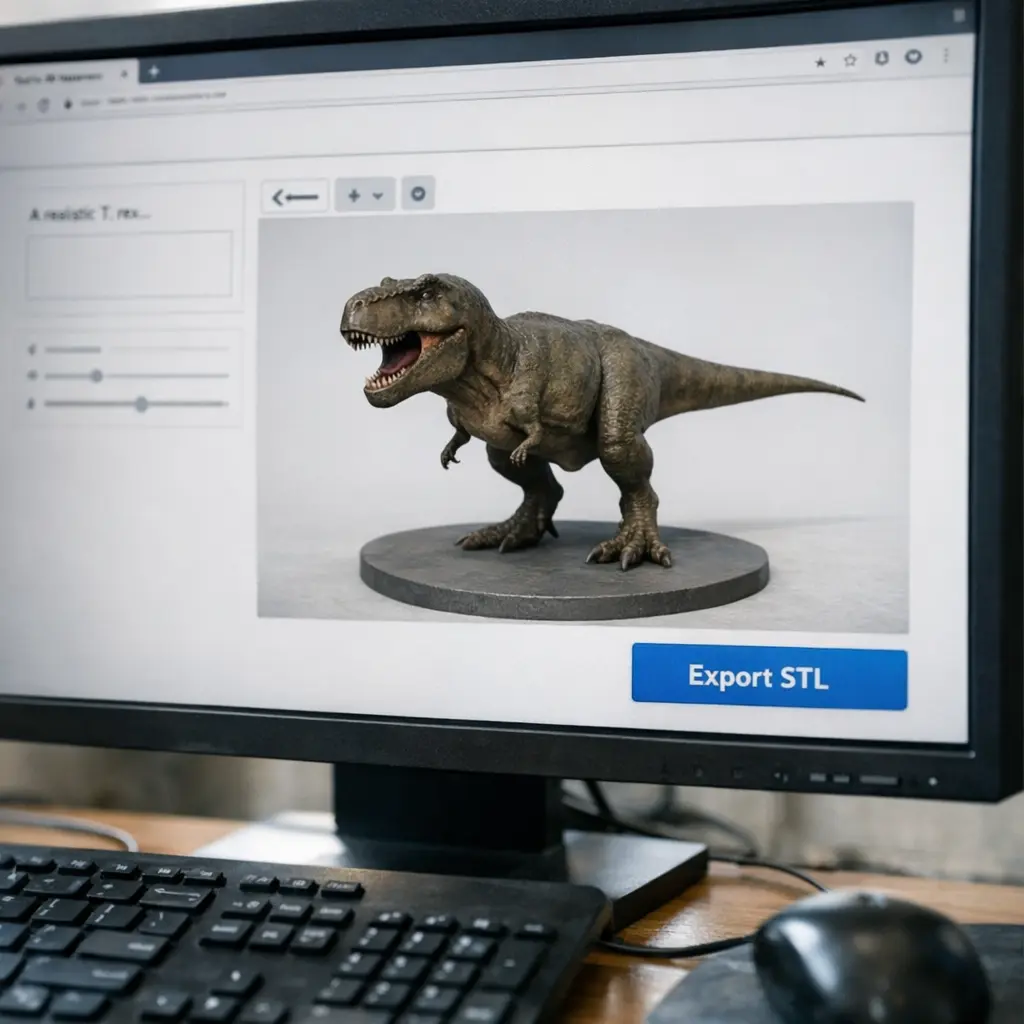
Text-to-3D refers to using AI models to generate 3D geometry directly from natural language prompts. Instead of painstakingly sculpting in Blender or Fusion 360, you just type what you want—"low-poly cat," "replacement gear for RC car," "custom cookie cutter with stars"—and the AI spits out a 3D model file (often STL, OBJ, or GLB). With recent advances in diffusion models and mesh reconstruction, tools like TimrX Text to 3D make this process accessible in the browser, not just for demo videos, but for real-world printing [1][4][5].
The tech behind the scenes borrows from the same large language models and image diffusion models powering today's generative AI boom, but tuned for 3D shape synthesis [4][6]. The result: you can skip the traditional modeling pipeline and go straight from idea to mesh.
What makes a good 3D printing prompt
Here’s the thing I learned quickly: a prompt for 3D printing isn’t the same as a prompt for rendering pretty images. The model needs to be watertight, printable, and have the right level of detail for your printer’s capabilities. Vague prompts like “a vase” usually give you something odd or unprintable. Be specific about shape, size, wall thickness, and function.
- Describe the *function*: “phone stand for iPhone 14 with charging slot”
- Specify *geometry*: “hexagonal pen holder, 10cm tall, 3mm wall thickness”
- Mention *printability*: “no overhangs, flat base, easy to print without supports”
- State *dimensions*: “fits 60mm x 60mm planter, 2mm drainage holes”
- Avoid ambiguity: “circular keychain with 20mm diameter, hole for 5mm ring”
In my experience, the more you write like you’re describing the object to another maker, the better your results. If you want more details on prompt engineering for generative models, see How to Write Better AI Image Prompts—many of those lessons transfer directly to 3D.
Prompt examples for printable models
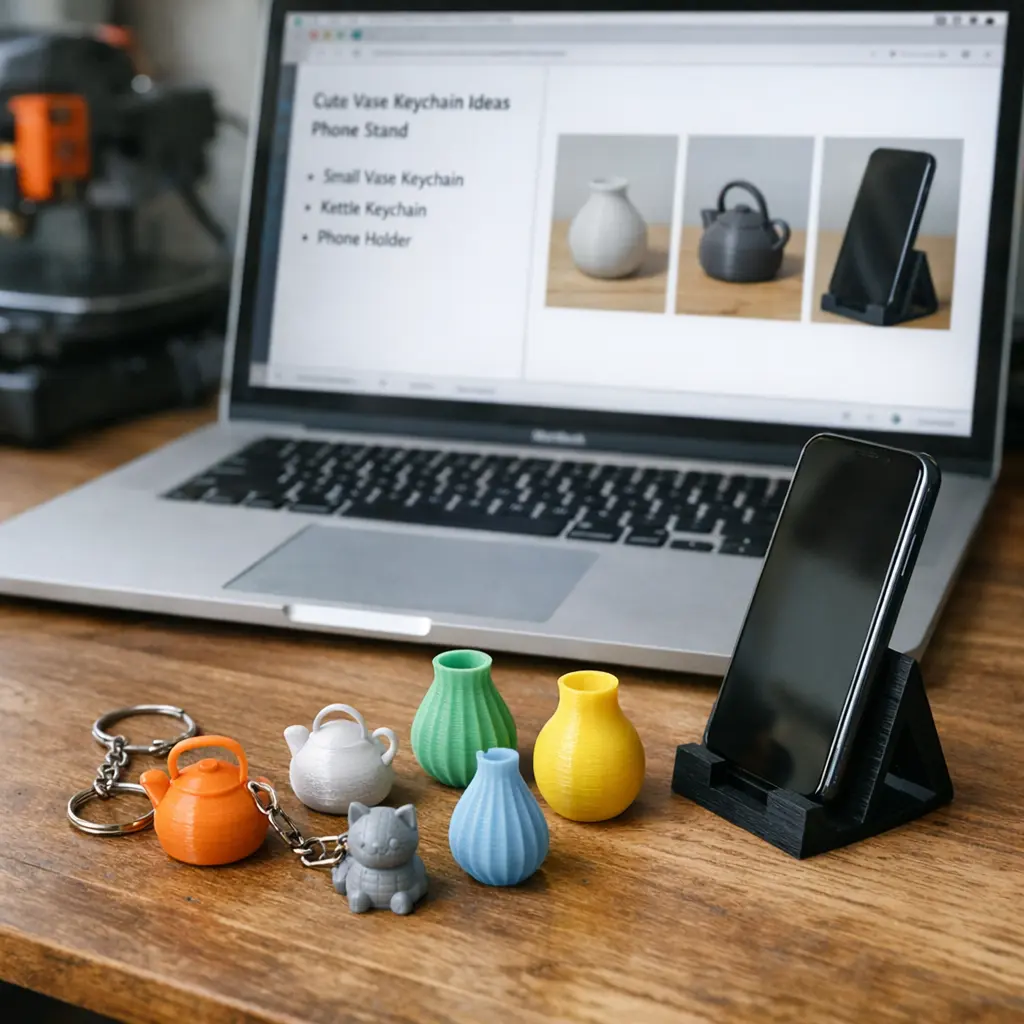
Not every idea translates cleanly from text to mesh. Here are prompts that consistently produce usable STL files in TimrX Text to 3D and similar tools [1][3]:
- "Stackable storage box with lid, 100x60x40mm, filleted corners, easy to print"
- "Planter pot with geometric pattern, 80mm diameter, 3mm thick walls, drainage hole"
- "Personalized keychain, circular, 25mm diameter, 3mm thick, hole for 8mm ring"
- "Desk organizer tray with 4 compartments, flat bottom, 200x100x15mm"
- "Cable holder for 5 USB cables, sits flat, no supports needed"
Notice the structure: clear shape, intended use, and printability constraints. Don’t just say "toy car"—say "small toy car with round wheels, 70mm long, all parts fused, printable as a single piece." If you want to see how image-to-3D works, check out How to Turn an Image into a 3D Printable Model: A Practical Guide for a parallel workflow.
How to check scale, thickness, and supports
The biggest difference between a render-friendly 3D model and a printable STL? Physical constraints. A model that looks great on screen can be impossible to print if it’s too thin, too large, or riddled with overhangs. Here’s what I always check before sending a file to the printer:
- Scale: Does the object match my intended size? Many models export in weird units—double check in your slicer.
- Wall thickness: For FDM, 1.2mm minimum is a safe bet. For resin, you can go thinner, but 0.8mm is my lower limit.
- Overhangs: Anything steeper than 45° may require supports. Plan your orientation or prompt for “no overhangs.”
- Holes and details: Are they big enough to print? 0.4mm is about the smallest for FDM, but 0.2mm is possible with resin.
- Support requirements: If you hate removing supports, prompt for “flat base, printable without supports.”
On TimrX Print Check, you can upload your STL and get instant feedback on wall thickness, mesh integrity, and scale. I use this every time before exporting G-code. For a deep dive into fixing problematic meshes, see How to Fix AI 3D Models for 3D Printing (Complete Guide).
Exporting STL vs GLB vs OBJ
STL is the gold standard for 3D printing. It describes surfaces as triangles, making it universally accepted by slicers. OBJ and GLB support color and textures, which are useful for rendering (and, in theory, for color 3D printing). But for most FDM or resin printing, STL is all you need. Here’s the breakdown:
- STL: Use for single-color, single-material prints. Simpler, smaller files. No color or texture.
- OBJ: Supports color and multiple objects, but can be messy if you don’t need textures.
- GLB: Modern, supports PBR materials, great for sharing online or for AR applications.
My advice? If your goal is physical printing, stick to STL. If you want to preview or share your model in a virtual environment, export GLB or OBJ as needed. TimrX’s STL Generator makes this export process seamless.
Common mistakes to avoid
Even with the best text-to-3D tool, you’ll hit snags if you skip the basics. Here are the mistakes I see most often—learn from my pain:
- Prompting for objects with floating or disconnected parts (they’ll print as islands, or not at all).
- Ignoring wall thickness—thin shells might disappear in the slicer.
- Exporting huge or tiny models (always check the scale in your slicer).
- Overly complex prompts—sometimes, less is more for AI models.
- Forgetting to check mesh integrity before printing.
Want more on browser-based 3D workflows? I recommend No-Blender 3D Modeling: Create 3D Models with AI Only for a look at pure AI pipelines, and Unified Creator Workflows: Building Images, Videos, and 3D Assets in the Browser for how this fits into the larger creative stack.
Try the workflow in TimrX
I’ve tested a dozen text-to-3D solutions, and TimrX Text to 3D is the one I’d actually use for print projects. The browser-based interface is fast, exports STL directly, and integrates with TimrX 3D Print for slicing, print checking, and sharing models. You can go from prompt to print-ready file in minutes, not hours.
Pros: frictionless workflow, printability checks, no need to install anything. Cons: like all AI tools, sometimes you’ll need multiple tries to get the geometry just right. Verdict? If you want to skip the CAD learning curve and prototype fast, this is the best approach I’ve found. For more on the broader platform, see TimrX AI Platform: Features, Updates, and Creative Capabilities.
Ready to try it? Start with TimrX Text to 3D: https://timrx.live/text-to-3d
Get hands-on and see the workflow in action.
FAQ: Text to 3D for STL Files
- Can I generate printable STL files from any text prompt? Not every prompt will yield a printable model. Be specific about size, shape, and function for best results [3][5].
- What’s the difference between STL, OBJ, and GLB exports? STL is for 3D printing; OBJ/GLB are for rendering or AR, with textures and materials.
- How do I check if my AI-generated model is printable? Use a tool like TimrX Print Check to verify wall thickness, mesh integrity, and scale.
- What are the best prompts for 3D printing? Describe the object’s function, dimensions, geometry, and printability constraints. Avoid vague or purely aesthetic prompts.
- Can I use TimrX for commercial 3D print projects? Yes, TimrX supports commercial use. Always verify model printability before large print runs.
Text to 3D for STL files puts real prototyping power in your hands. If you’re ready to turn text prompts into physical objects, fire up TimrX Text to 3D and see how fast the idea-to-print workflow can be.
Sources
- [1] From Text to 3D Print: Easy AI-Powered Workflow - YouTube
- [2] Would You Use a Tool That Turns Prompts Into 3D Object Files (STL)?
- [3] How to Create STL Files from Text Prompts: Quick & Easy AI Guide
- [4] Text-to-3D Shape Generation
- [5] AI 3D Model Generator - Create 3D models with Text or images
- [6] Magic3D: High-Resolution Text-to-3D Content Creation
No validation references for this post.
Comments 0
Be the first to comment on this post.