
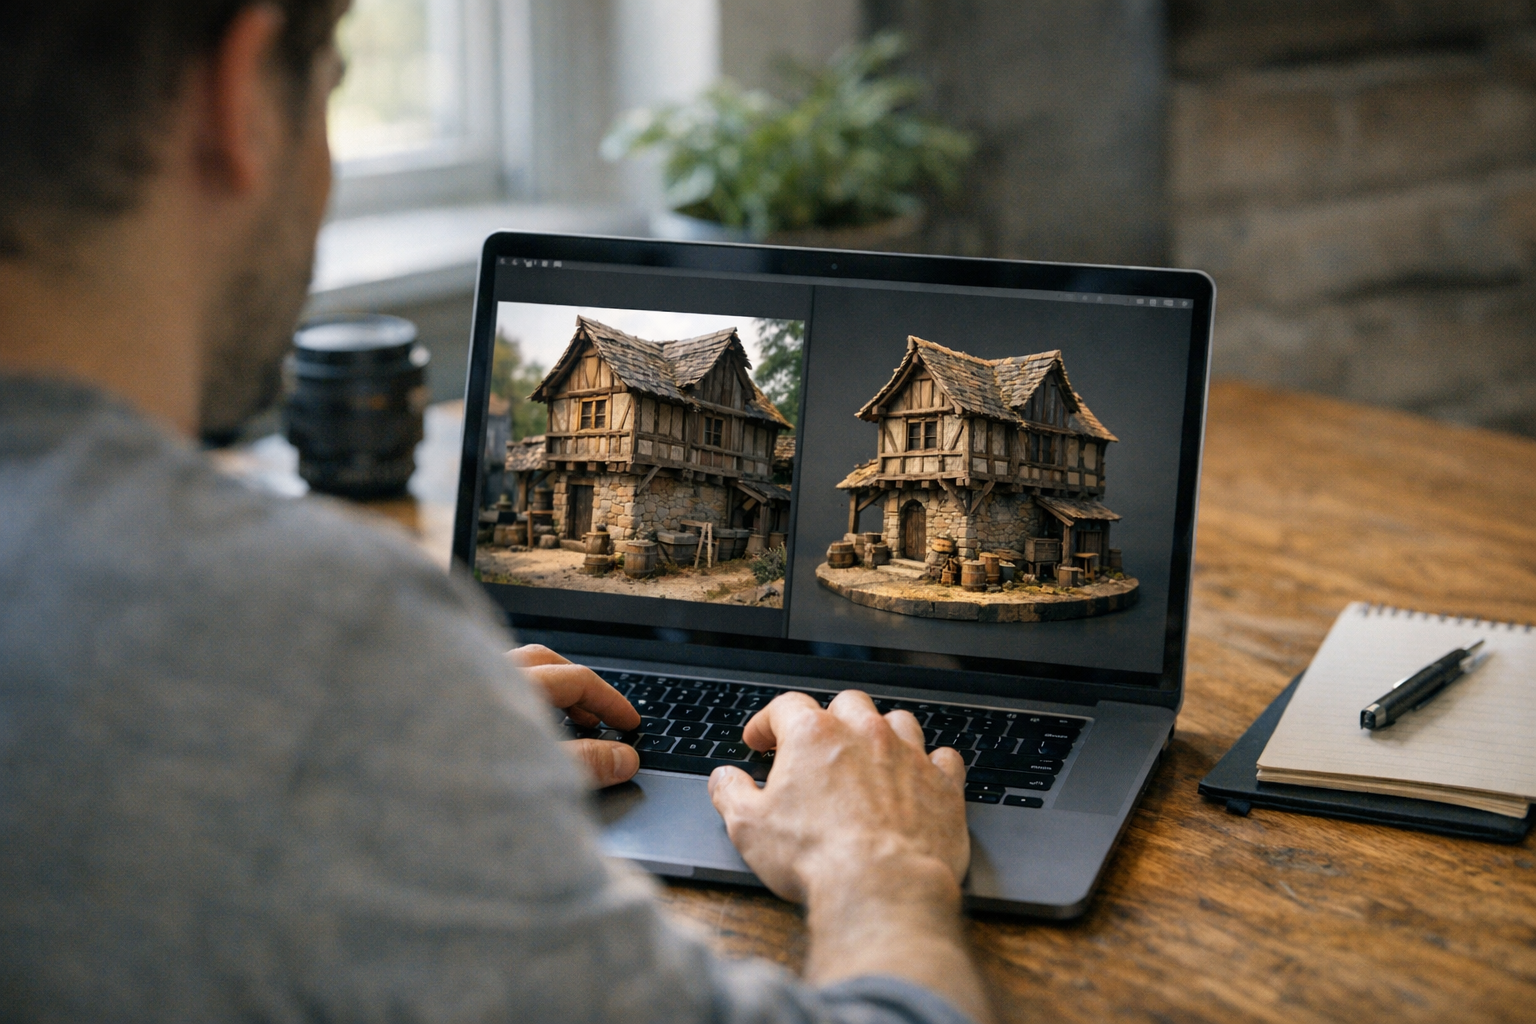
Turning an image into a 3D printable model isn’t just possible—it’s easier than ever, even if you’ve never touched Blender or CAD. With the right tools, you can go from a simple photo to a physical object in hours, not days. Whether you want to make a keepsake from an old picture, prototype an idea without sculpting skills, or crank out quick 3D prints for work or fun, this guide will show you exactly how the 'image to 3D model' process works in 2026.
What image-to-3D means
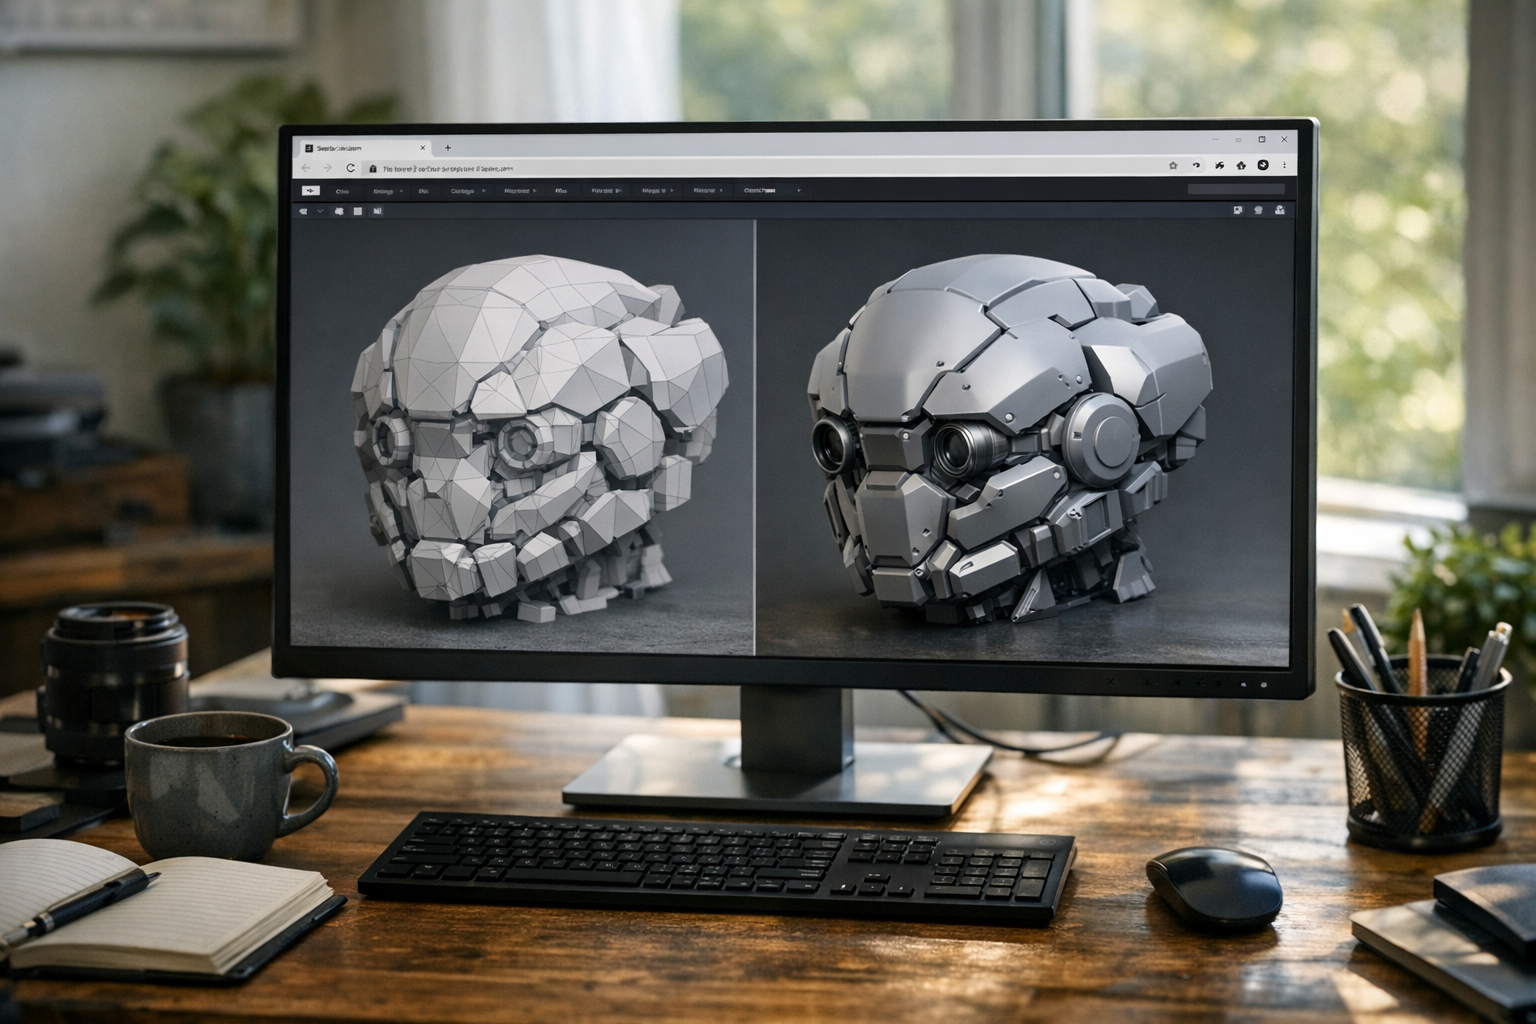
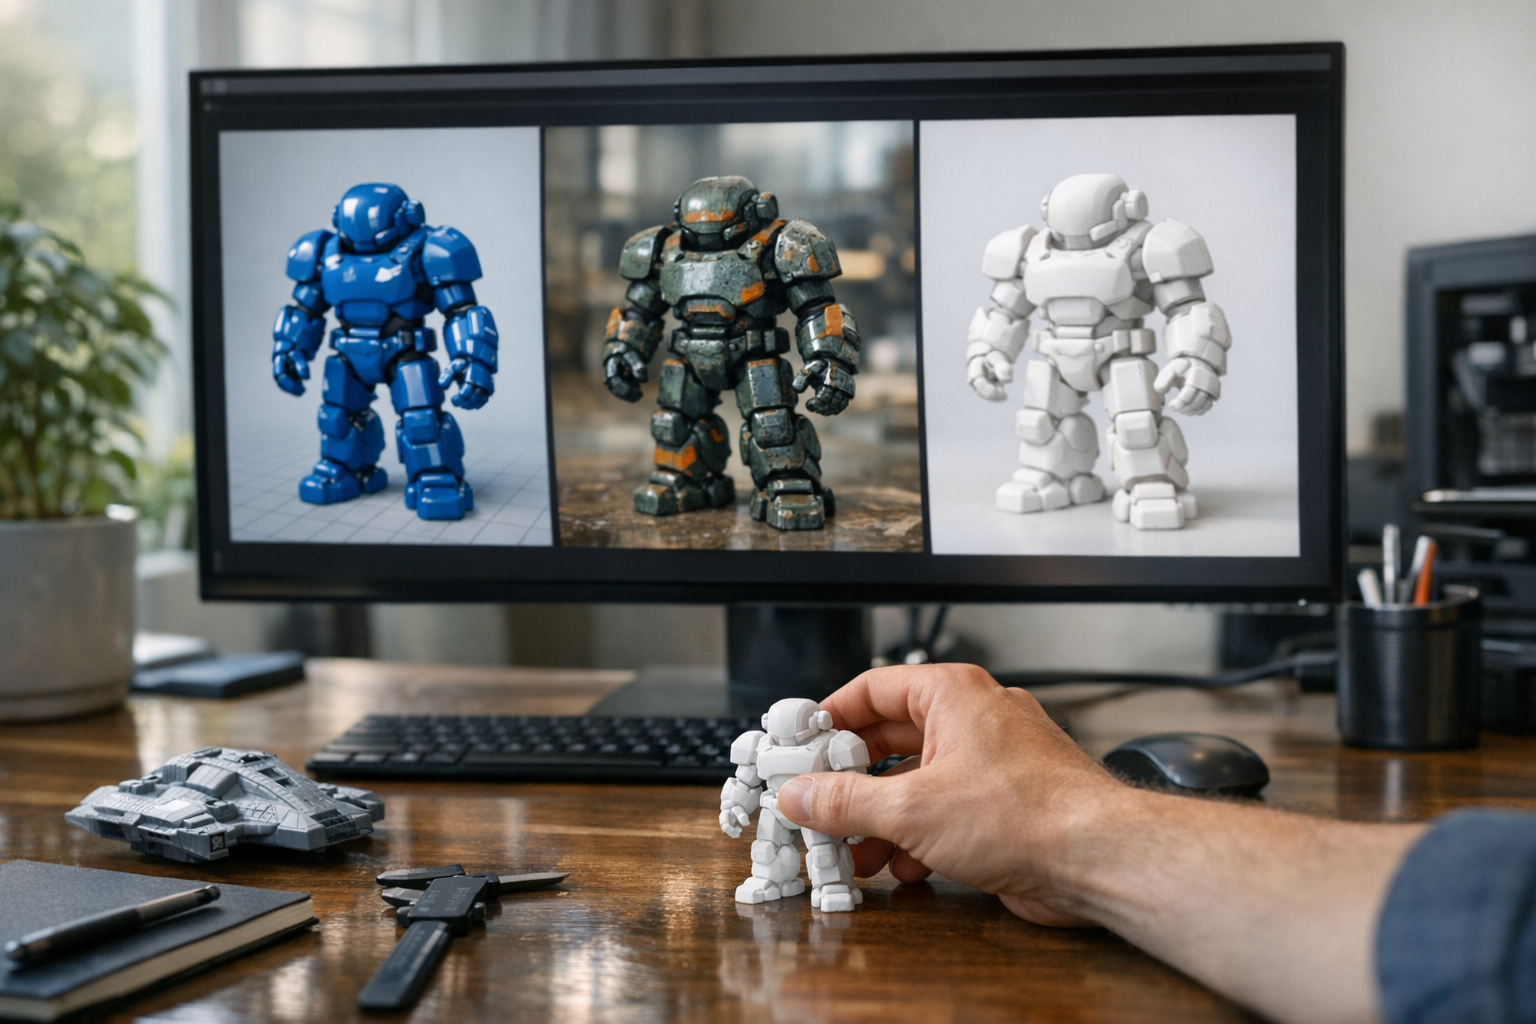
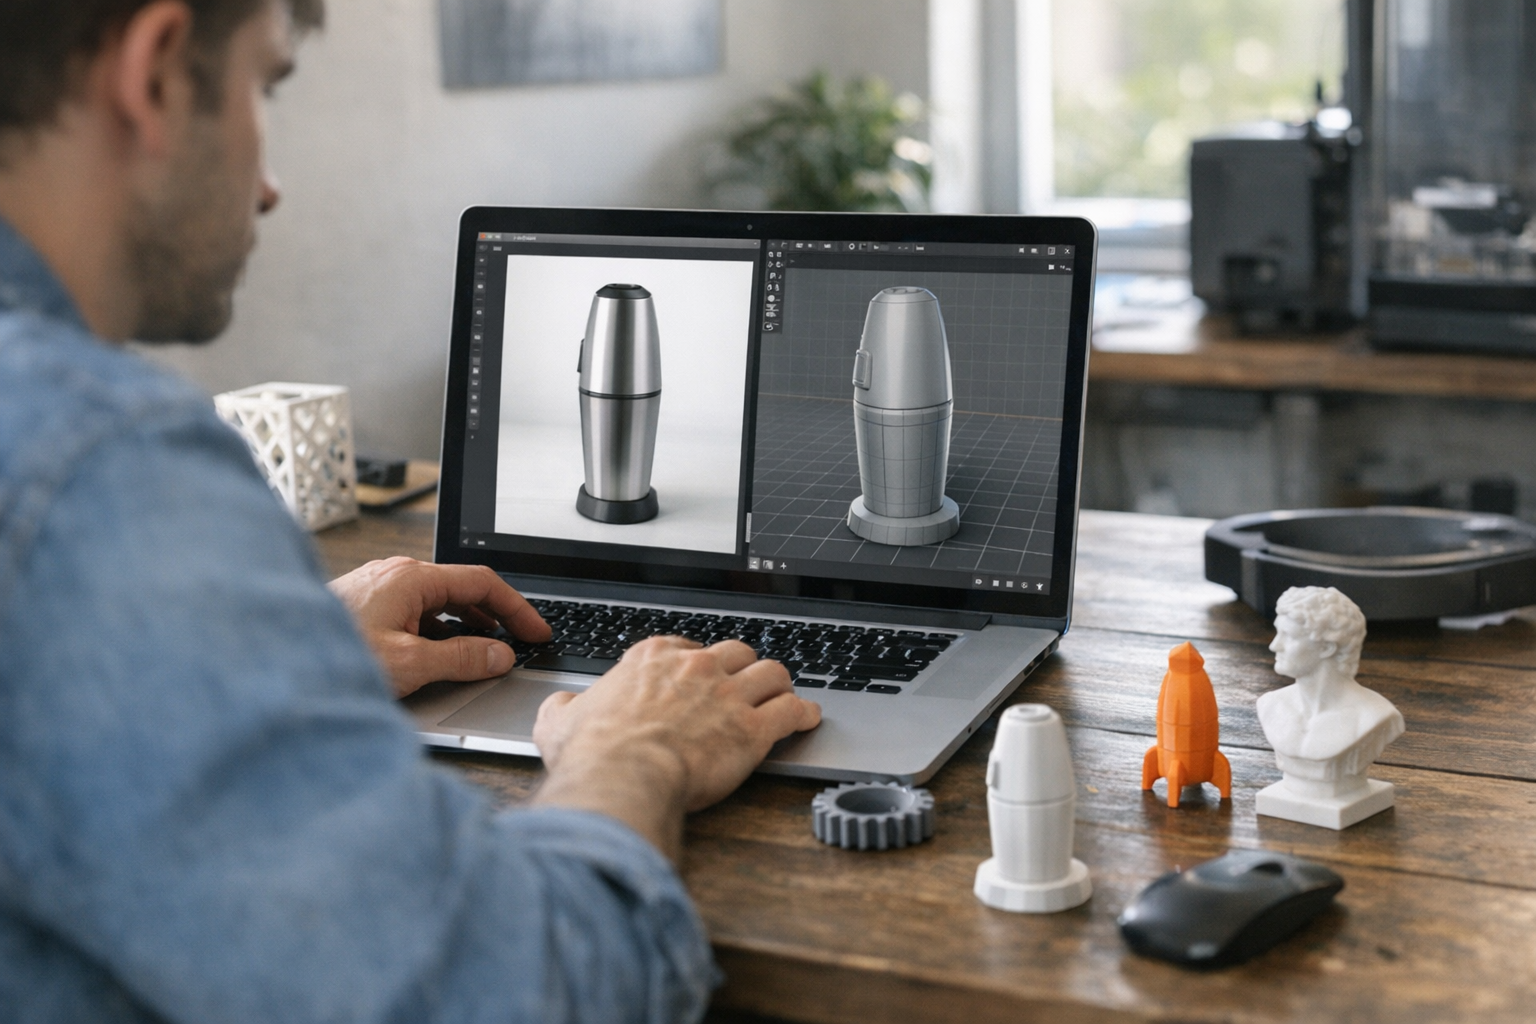
When we talk about 'image to 3D model', we mean turning a flat, 2D picture—like a JPEG or PNG—into a 3D mesh that you can print. Most people today aren’t modeling from scratch. Instead, they use AI or automated tools to generate a 3D surface that resembles the photo, then export it as an STL or OBJ file. The result: you can hold an object inspired by your photo in your hand, ready for the 3D printer. I've seen this workflow used for custom cookie cutters, lithophanes, logos, even relief sculptures. And with tools like TimrX Image-to-3D, you don’t need to be a 3D expert to pull it off.
Best image types to use
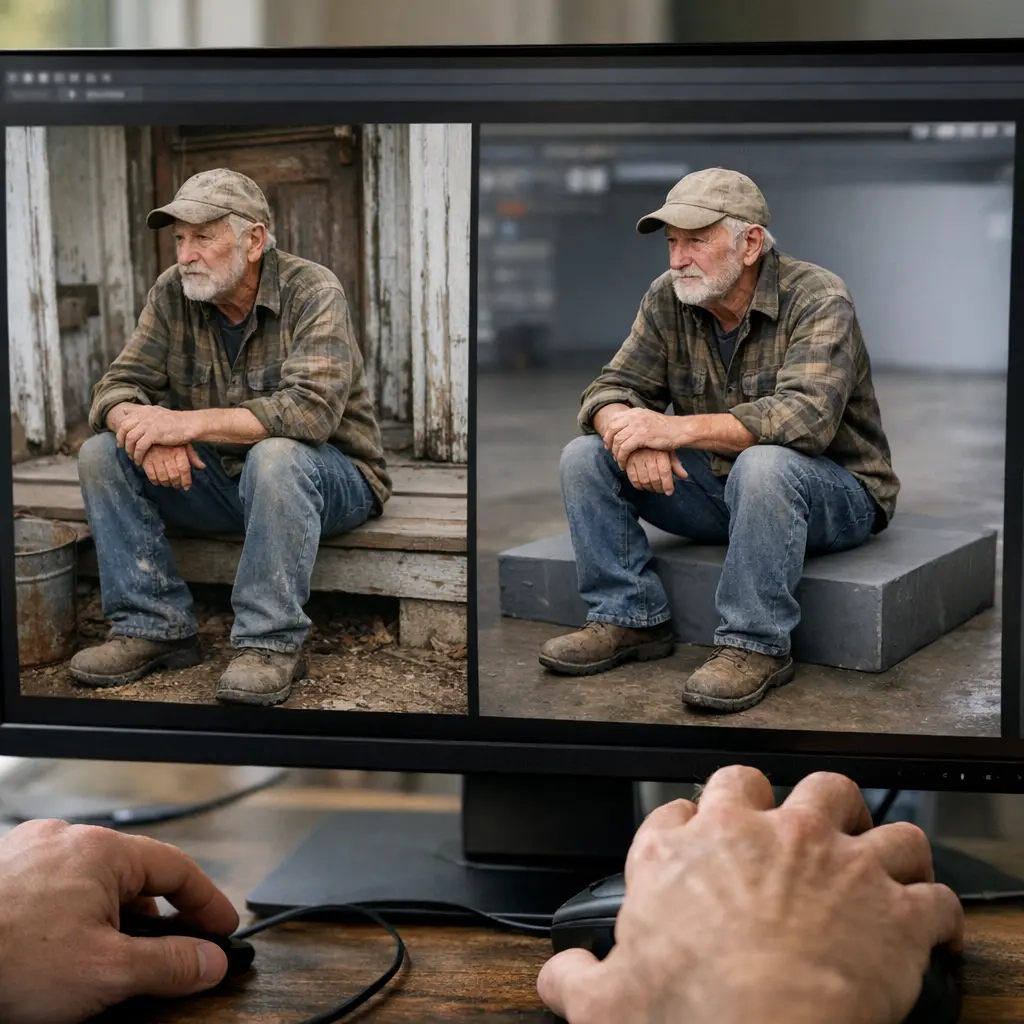
Not every image is a good candidate for 3D conversion. Here’s the thing: the best results come from simple, high-contrast images. Think logos, black-and-white sketches, or profile photos with a clean background. The fewer overlapping elements and the sharper the edges, the better the AI or height-mapping algorithm can figure out what’s foreground and what’s background. For lithophanes or reliefs, grayscale images work best. If you’re aiming for a more sculptural result—say, a face or pet—try to use a photo with even lighting and clear separation between subject and background. Avoid busy backgrounds, tiny details, or low-res files. You’ll thank yourself later.
Step-by-step workflow
Let’s walk through the practical workflow. No fluff—here’s how I’d do it on a real project:
- Pick your image. Start with a clear, high-res file—ideally PNG or JPEG. For 3D reliefs, grayscale is best.
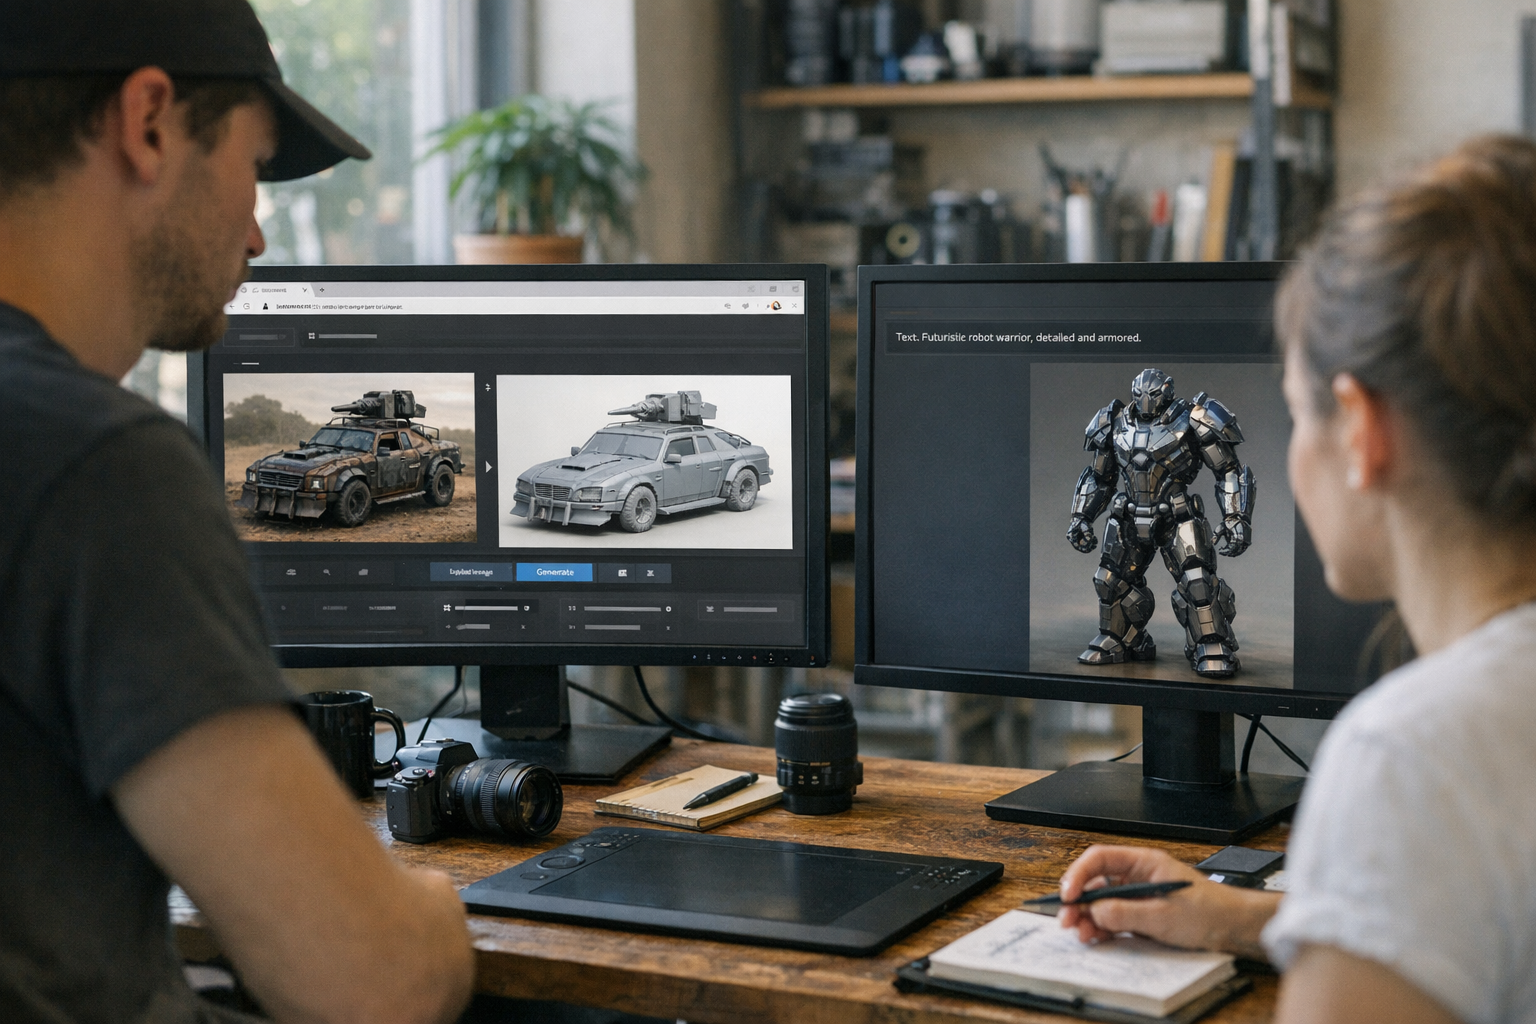
- Upload to a conversion tool. Use something like TimrX Image-to-3D or other online services. These handle the heavy lifting with AI.
- Adjust depth and parameters. Most tools let you tweak the height, smoothness, and detail. Preview the mesh.
- Download your 3D model. Export as STL, OBJ, or GLB. STL is the standard for 3D printing.
- Check for errors. Open the file in a slicer (like PrusaSlicer or Cura) or use a web-based print check (TimrX Print Check) to spot holes or non-manifold edges.
- Slice and print. Load the file into your printer’s slicer, set infill/supports, and print.
There are plenty of tutorials out there, but the best approach is to use a browser-based AI workflow. You avoid installing anything, and the conversion is done in minutes—not hours. If you want a deep dive on browser-based workflows, check out Unified Creator Workflows: Building Images, Videos, and 3D Assets in the Browser. For a full "no Blender" experience, see No-Blender 3D Modeling: Create 3D Models with AI Only.
How to prepare the model for 3D printing
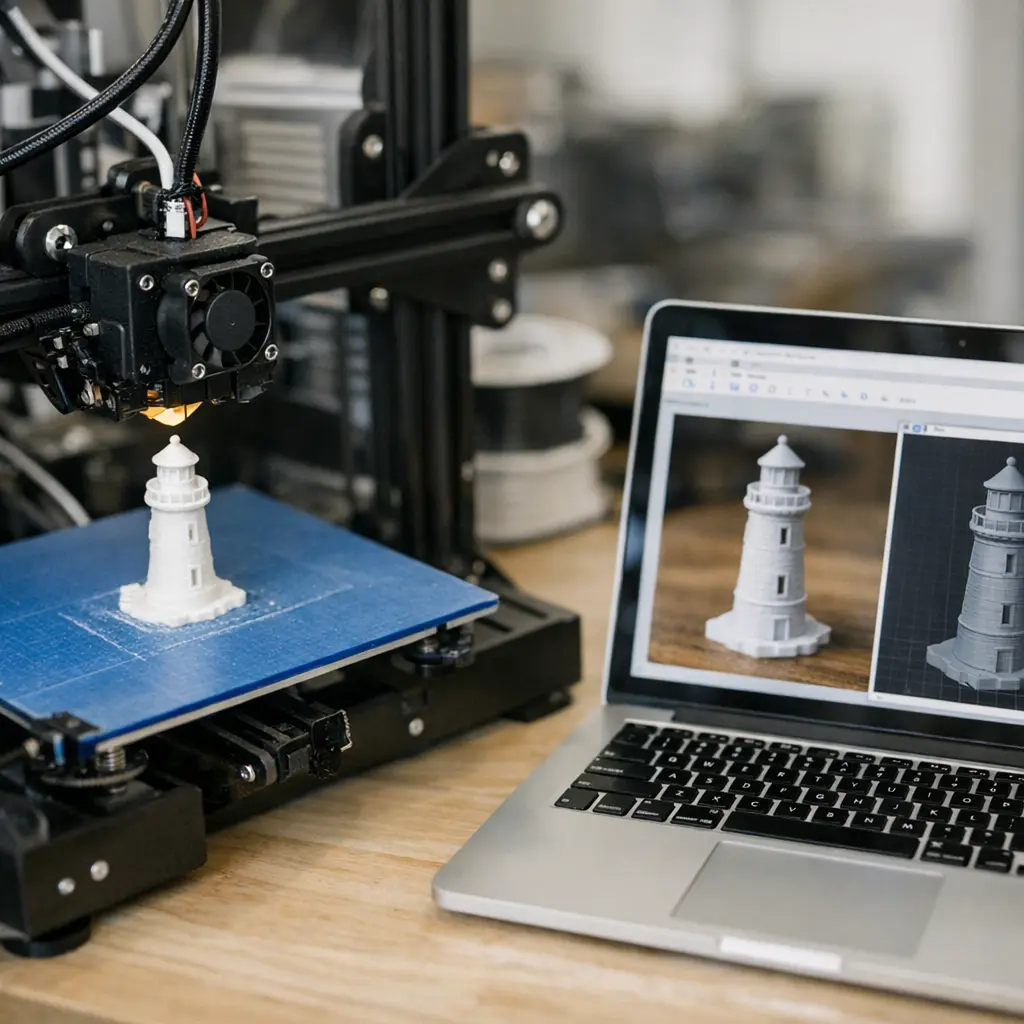
Getting a 3D file isn’t the end of the story. You need a model that your printer can actually handle. Here’s what I always check before printing:
- Is the mesh watertight (no holes or open edges)?
- Are overhangs minimized, or do you need supports?
- Is the model the right size? Scale it in your slicer or in the online tool.
- For lithophanes, is the thickness consistent? Too thin and it’ll break.
- Check for non-manifold geometry (most browser tools fix this automatically).
If you run into common mesh issues, see How to Fix AI 3D Models for 3D Printing (Complete Guide). For batch checking, TimrX Print Check is fast and browser-based.
Export formats: STL vs OBJ vs GLB
STL is the workhorse here. It’s supported by every slicer and printer, stores only the mesh, and keeps file sizes reasonable. OBJ supports color and materials, so if you want to texture your model (for example, for display in AR or to paint later), export as OBJ. GLB (and its cousin, GLTF) is a modern format for web and AR—great for sharing, not always ideal for printing. My advice: for 3D printing, always export STL unless you have a specific need for texture or AR display. You can generate all these formats using TimrX STL Generator or via the export options in Image-to-3D.
Common problems and fixes
Not every image-to-3D conversion works perfectly out of the box. Here’s what tends to trip people up—and what actually fixes it:
- Jagged edges or messy surfaces: Use the smoothing tools in your converter, or clean up in Meshmixer.
- Parts of the image missing: Try a higher-contrast version of your source image.
- Non-manifold mesh: Repair automatically with Print Check or Netfabb.
- Model too thin or fragile: Increase minimum thickness in the tool or in your slicer.
- Unexpected holes: Check the preview, adjust depth settings, or use mesh repair.
If you’re consistently running into issues, sometimes it’s the image itself. Pre-process it in Photoshop or GIMP—remove backgrounds, bump up contrast, or convert to grayscale. For more on STL fixes, see AI 3D Printing Models: From Text Prompt to STL File.
Try it in TimrX
You don’t have to take my word for it. The fastest way to turn your image into a 3D printable model is to try TimrX Image-to-3D. Upload a photo, set your parameters, preview the mesh, and download a ready-to-print STL. If you want a quick mesh check, head to TimrX Print Check. And when you’re ready to print, check out the 3D Print hub for workflow tips and a direct path from browser to printer.
For anyone interested in the broader creative pipeline—how to go from AI image generation to 3D and even back again—see From AI Image to 3D Model: Inside the TimrX Creative Pipeline.
Conclusion: Image to 3D model is finally easy
If you’ve been waiting to turn your images into 3D printable models—now’s the time. The best approach is to use browser-based AI tools like TimrX Image-to-3D for smooth, fast, and reliable results. Focus on high-contrast images, check your mesh, and always export STL for printing. With the right workflow, you’ll go from photo to real-world object in a single afternoon. Give it a try and see just how far 'image to 3D model' tech has come.
FAQ: Turning Images into 3D Printable Models
- Can I use any photo to make a 3D model? Not always. Clean, high-contrast images work best, especially for reliefs or lithophanes.
- What file format should I use for 3D printing? STL is the standard. OBJ and GLB are better for color/AR but not for printing.
- Do I need to edit my image before uploading? Sometimes. Removing backgrounds, increasing contrast, or converting to grayscale improves results.
- What if my 3D print fails? Check for mesh errors or thin walls. Use a mesh repair tool or try a different image.
- Are there free tools for image-to-3D conversion? Yes—TimrX offers browser-based tools, and there are others like Hitem3D and online lithophane generators [2][3].
Sources
- [1] Software for turning a picture into 3D object? : r/3Dprinting
- [2] Turn Any Image Into A 3D Print With AI (In Minutes!)
- [3] Turning a Picture Into a Beautiful 3D Printable Model!
Comments 0
Be the first to comment on this post.