
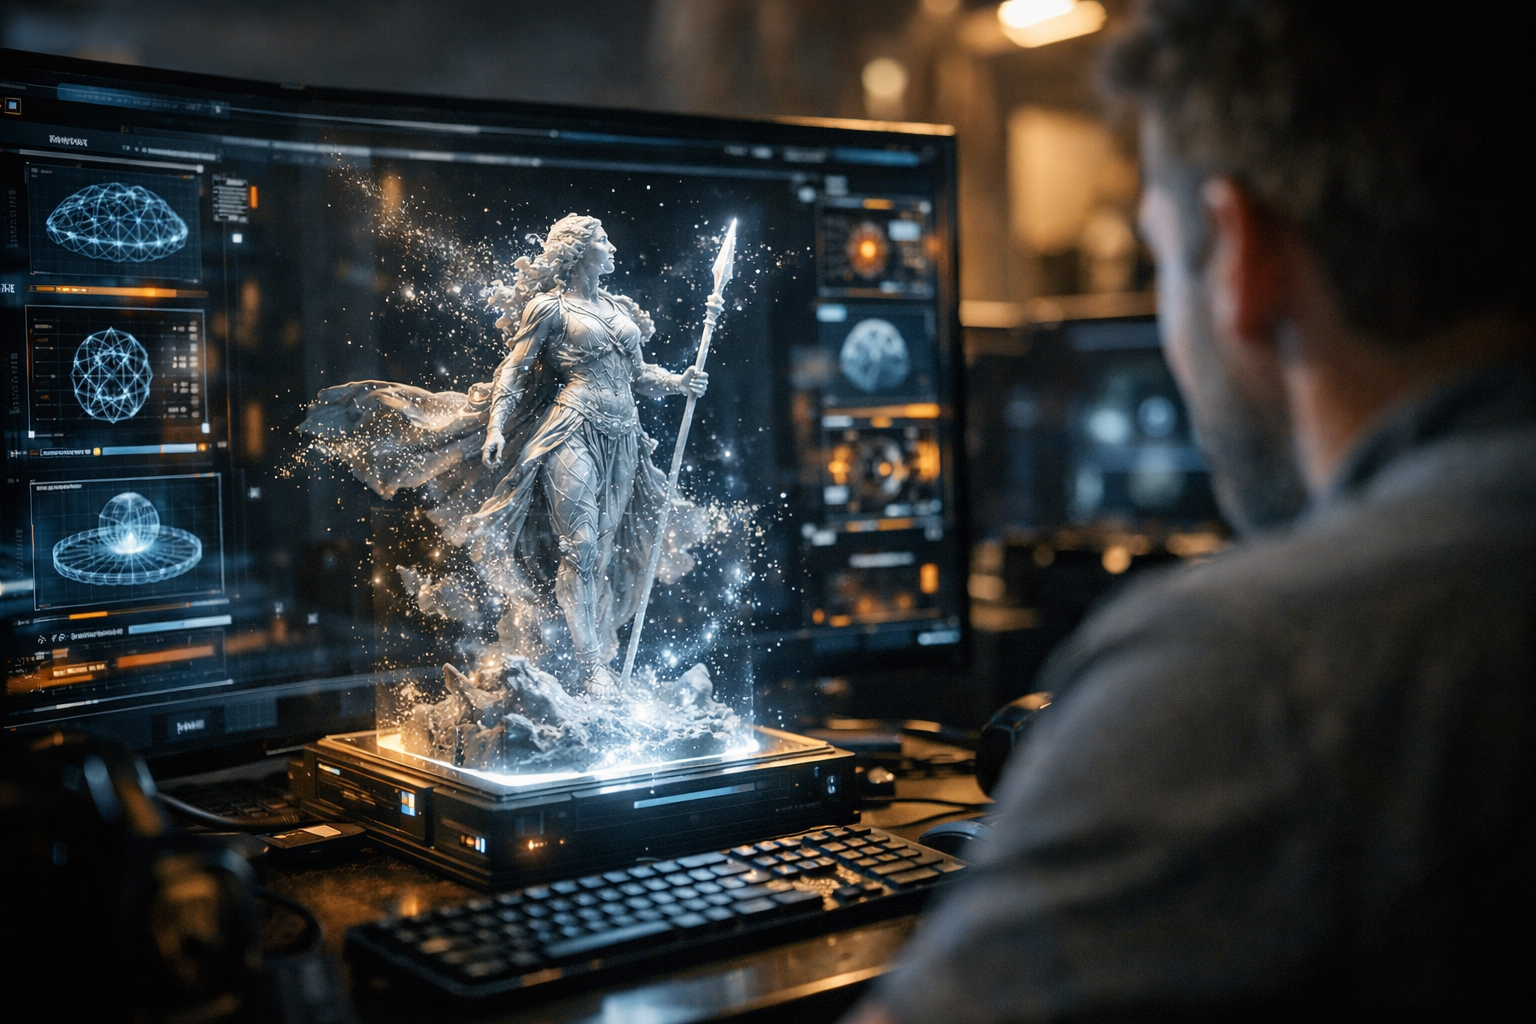

AI 3D modeling without Blender isn’t just a shortcut—it’s a new way to create 3D assets that’s finally accessible to everyone. If you’ve ever tried Blender, you know the feeling: fifty toolbars, hundreds of hotkeys, and a learning curve steeper than a mountain face. But here’s the thing—thanks to AI and browser-based tools like TimrX, you can now go from a simple text prompt to a print-ready 3D model in minutes, not weeks. No installs, no render farms, no Blender. Let’s break down exactly how this works, why it matters, and how you can do it yourself—even as a total beginner.
Why Traditional 3D Modeling Is Hard
Blender is powerful. No argument there. But for newcomers, the interface is overwhelming and the workflow is unforgiving. You need to learn modeling, UV unwrapping, sculpting, texturing, and a string of arcane shortcuts just to make a basic character. Even experienced creators can spend hours cleaning up geometry and troubleshooting export settings. So, for a lot of people, traditional 3D modeling is just plain inaccessible. Compare that to AI-based workflows: instead of spending weeks learning a tool, you type a prompt and get a working model. That’s not just faster—it’s a total game-changer for accessibility.

What Is AI 3D Modeling?
AI 3D modeling means you’re letting machine learning do the heavy lifting. There are two main approaches: text-to-3D, where you describe what you want and an AI generates it; and image-to-3D, where you upload a reference image and the AI builds a 3D shape from it. Under the hood, these models automate mesh generation, texturing, and even basic rigging. The result? You get a usable 3D asset in minutes, not days. For a full technical breakdown, check out TimrX’s AI 3D generator or see the comparison in Text-to-3D vs Image-to-3D: Which AI Workflow Delivers Better Results?.
The No-Blender Workflow (Modern Pipeline)
Here’s what a modern, no Blender 3D modeling pipeline looks like on TimrX: IMAGE → MODEL → REMESH → TEXTURE → RIG → ANIMATE → VIDEO. Each step is modular. You can start from a text prompt or an image. After generating a model, you clean up the mesh, add textures, rig for animation, and even export straight to video—all in your browser. This isn’t theory. This is how creators actually work today. For a practical look at this pipeline in action, see From AI Image to 3D Model: Inside the TimrX Creative Pipeline.

Step-by-Step: Create a 3D Model with AI
Let’s walk through a complete workflow using only browser-based AI tools for no Blender 3D modeling. I’m using TimrX for this demo, but the steps are similar on most leading platforms. Step 1 — Write a Prompt Type a description, like “a stylized wizard character.” The clearer the prompt, the better the result. For pro prompt tips, check How to Write Better AI Image Prompts — Complete Guide. Step 2 — Generate the 3D Model Let the AI do its thing. It’ll build a base mesh in about a minute.

Step 3 — Preview the Model Rotate, zoom, and inspect the geometry right in your browser. Look for obvious issues—holes, weird faces, or odd proportions. Step 4 — Remesh for Quality Click ‘Remesh’ to improve topology and clean up the mesh. This step fixes most geometry errors and makes your model ready for either animation or printing. For deeper fixes, see How to Fix AI 3D Models for 3D Printing (Complete Guide). Step 5 — Apply Textures (Optional) You can add AI-generated textures for extra realism or style—totally optional, but often worth it. See AI-Generated Textures for 3D Models — Complete Guide for tips. Step 6 — Prepare for Export Set the correct scale and optimize the geometry. Some platforms will even check printability for you automatically.
Making Models 3D Print Ready
Here’s where most AI tools still fall short—but TimrX nails it. After remeshing, you’ll see a print readiness score (e.g., 90 — Excellent). The diagnostics panel checks for watertight geometry, closed faces, non-manifold edges, and other printer-critical issues. Why does this matter? Because even a beautiful model is useless if it won’t print. Clean, watertight, and error-free geometry means less frustration and more successful prints. For more on this, browse the 3D printing workflows section or the tech deep-dive in How AI-Generated Models Are Transforming 3D Printing: A Technical Guide.

Exporting Your Model
Once your model passes checks, export it. The two main formats are STL (industry standard for most desktop 3D printers) and 3MF (better metadata, preferred for color and multipart prints). Just click the export button—no Blender required. STL is best for single-material prints, while 3MF is gaining traction for more complex print jobs. For a full overview, see the TimrX archive or the AI 3D Model Generator page.
Opening in a Slicer
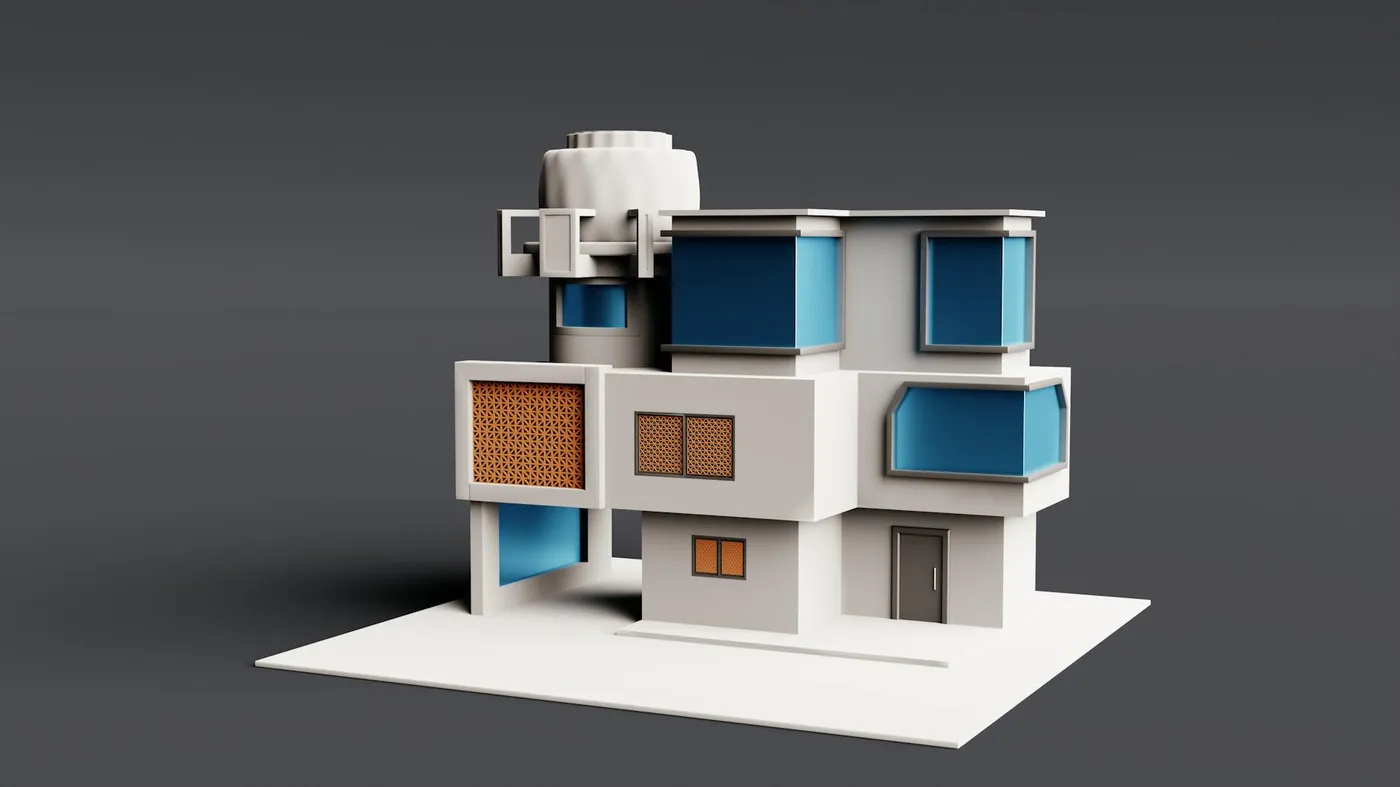
Take your STL or 3MF file and drop it into a slicer. Popular options: Cura, PrusaSlicer, OrcaSlicer, or Bambu Studio. I’ve found Cura is easiest for beginners, but PrusaSlicer and OrcaSlicer are great if you want advanced controls. Set your print settings, preview the layers, and save the G-code to your SD card or send it straight to your printer. That’s it—the heavy lifting is already done.
Real Example: Creating a Character Model
Let’s put this into practice. I enter the prompt: “a stylized wizard character.” TimrX’s AI 3D model generator creates a mesh in under 90 seconds. I preview the model and notice a few rough edges. One click remeshes and cleans it up. The print readiness score comes back: 95 — Excellent. I export the STL and drop it into Cura. Five minutes from idea to print-ready file. No Blender. No downloads. Just browser-based magic.
Why AI Replaces Blender for Many Use Cases
Here’s my take: unless you’re sculpting for Pixar, AI 3D modeling without Blender is simply faster, easier, and more accessible for most creators. No installation headaches. No hardware requirements. You can work from any device—even a Chromebook. For beginners, this is the best approach. And even for pros, it’s a rapid prototyping dream.
Limitations of AI 3D Modeling
AI isn’t perfect. Sometimes you’ll get odd geometry or weird proportions. You have less manual control than with Blender. And while print readiness is much better now, complex models might still need a manual clean-up. But for most hobbyist projects, concept designs, and even simple production parts, the process is shockingly good.
When You Still Need Blender
Advanced sculpting, custom topology, or ultra-complex animations? Blender (or similar software) is still your friend. The same goes for intricate asset pipelines in game studios or film. But for the other 90% of needs—prototyping, hobby projects, quick assets—AI and browser-based 3D tools are more than enough.
Why TimrX Makes This Possible
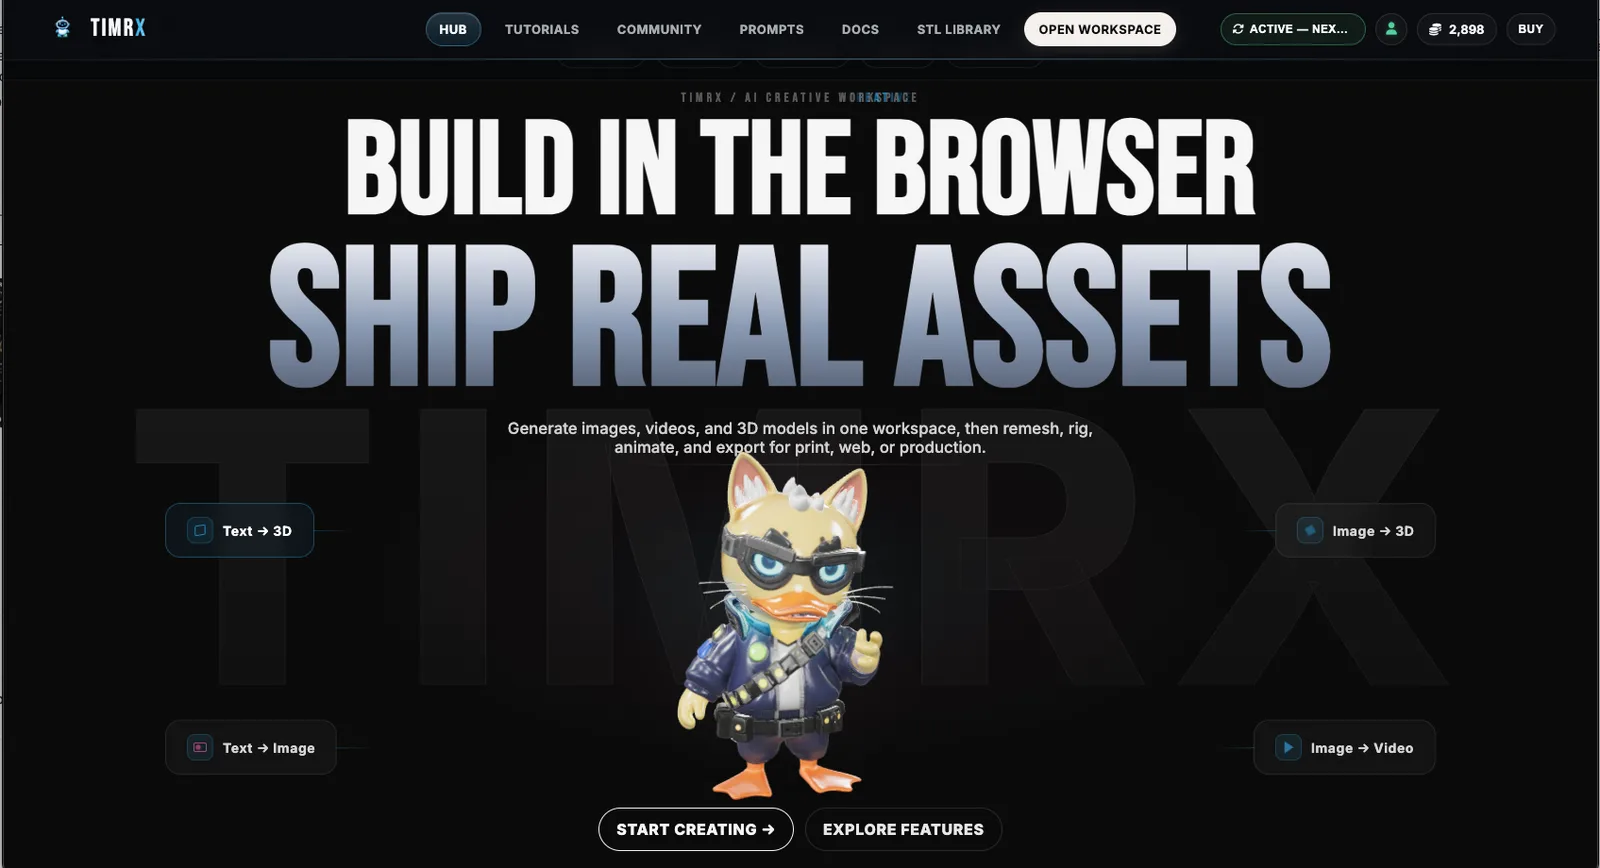
TimrX brings AI 3D workflows to the web. Everything’s in-browser: write a prompt, get a model, fix it, export it. No setup, no GPU required. The pipeline is integrated, so you can go from text prompt to print-ready asset without ever leaving your browser. For a full overview, visit the TimrX hub. For more learning resources, explore the TimrX blogs.
Conclusion
AI 3D modeling without Blender isn’t just hype—it’s real, it’s accessible, and it’s changing how new creators make things. So try it. Skip the installs, skip the YouTube Blender tutorials, and see how far you can go with just a browser and a good AI 3D model generator like TimrX. The future of 3D is accessible—and it starts with your next prompt.
FAQ
- Can I create 3D models without Blender? Yes. With browser-based AI 3D model generators like TimrX, you can go from text or image prompt to print-ready model without installing Blender.
- Is AI 3D modeling good for beginners? Absolutely. The workflow is simple and beginner-friendly, and you don’t need any previous 3D experience.
- Can AI models be 3D printed? Yes, as long as the model passes print readiness checks (watertight, clean geometry). TimrX provides diagnostics and export to STL/3MF for printing.
- What is text-to-3D? Text-to-3D is an AI workflow where you describe a model in text, and the AI generates a 3D mesh based on your description.
- Do I need a GPU? No. All processing is done in the cloud. You just need a web browser and internet connection.
Sources
- [1] How to Write User-Friendly Help Topics for Beginners - ClickHelp
- [2] A Beginner's Guide to Starting in Technical Article Writing

Comments 0
Be the first to comment on this post.