
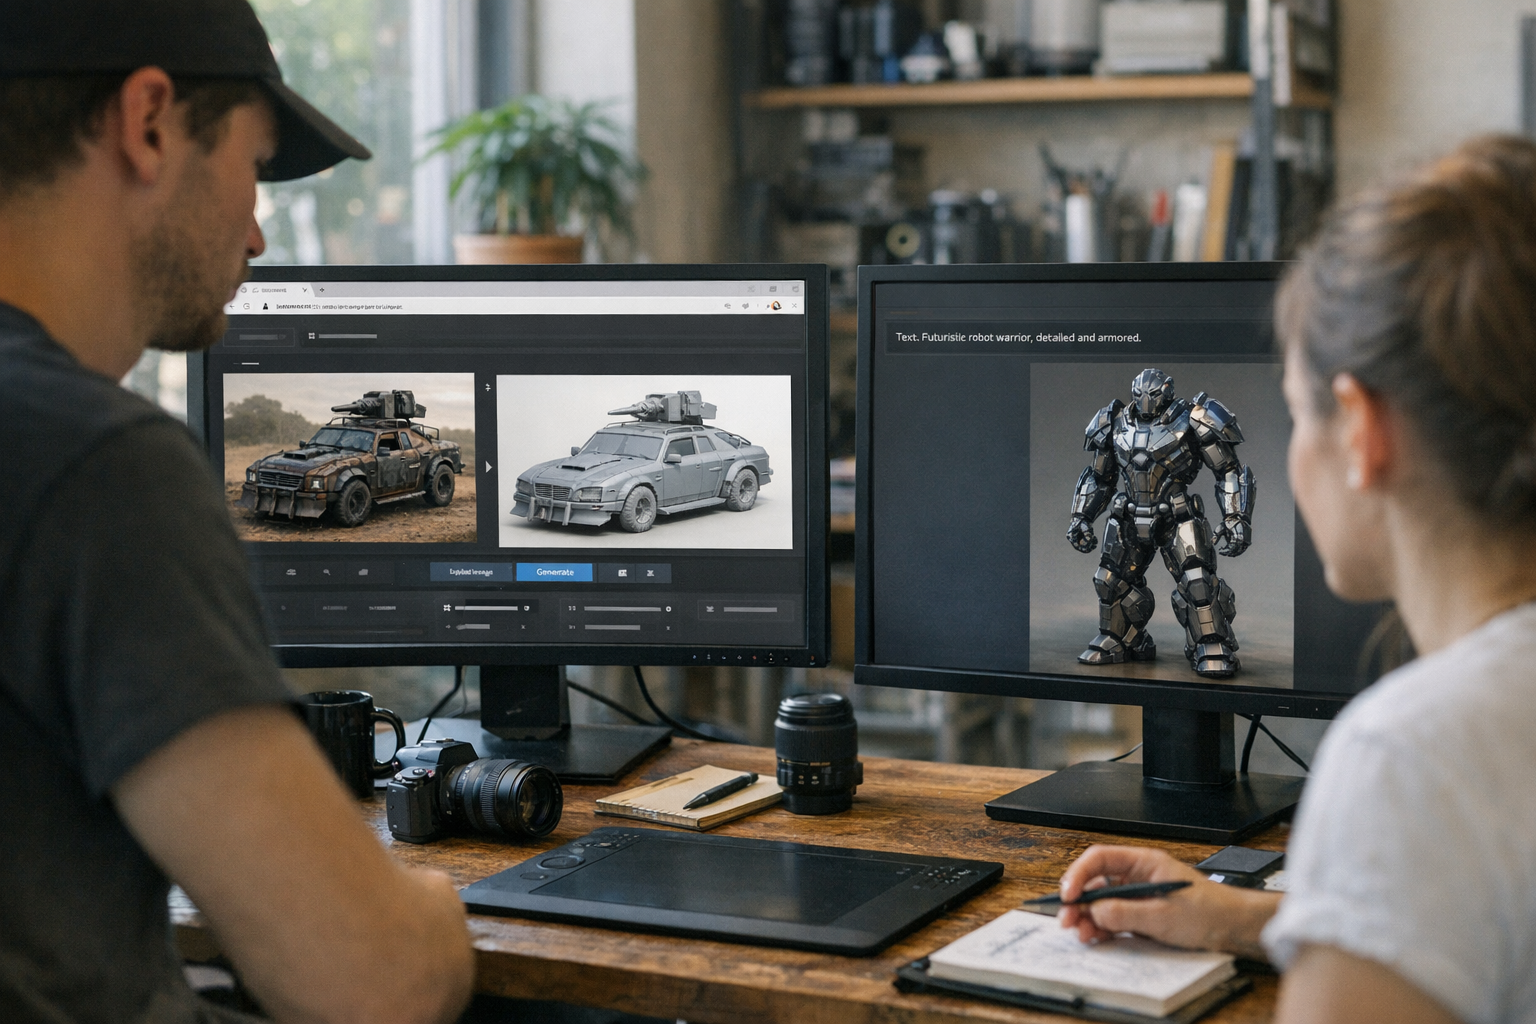

Image to 3D vs text to 3D: that's the core workflow decision facing creators building assets in the browser right now. More tools are browser-based than ever before, letting artists and developers spin up 3D models directly from a sketch or a prompt—no desktop software, no installations, just a web tab and a creator's intent. With the right workflow, you can take a concept from idea to export-ready asset in minutes, not days. But which pipeline actually delivers the best results for real production needs? That's where things get interesting.
Understanding Browser-Based 3D Generation Workflows
With browser-native creator tools like those found at /hub, the old wall between concepting, asset generation, and export is disappearing. You get a streamlined, integrated pipeline—generate, preview, refine, export—all in one place, no switching between bloated software. The /ai-tools suite gives you access to image-to-3D, text-to-3D, remeshing, and texture workflows right from the browser. What stands out is that these systems encourage multimodal asset pipelines. You can start with a sketch, refine with a prompt, auto-generate textures, and export GLB, STL, or OBJ—no offline conversions or manual file handling. Real-time browser previews are the norm, so creators see what they're getting before committing to download or print. This isn't just convenient—it's fundamentally changing how 3D production pipelines work. Fewer tools, less friction, faster iteration, and asset pipelines that actually fit a creator's day-to-day workflow.
How Image-to-3D Workflows Work
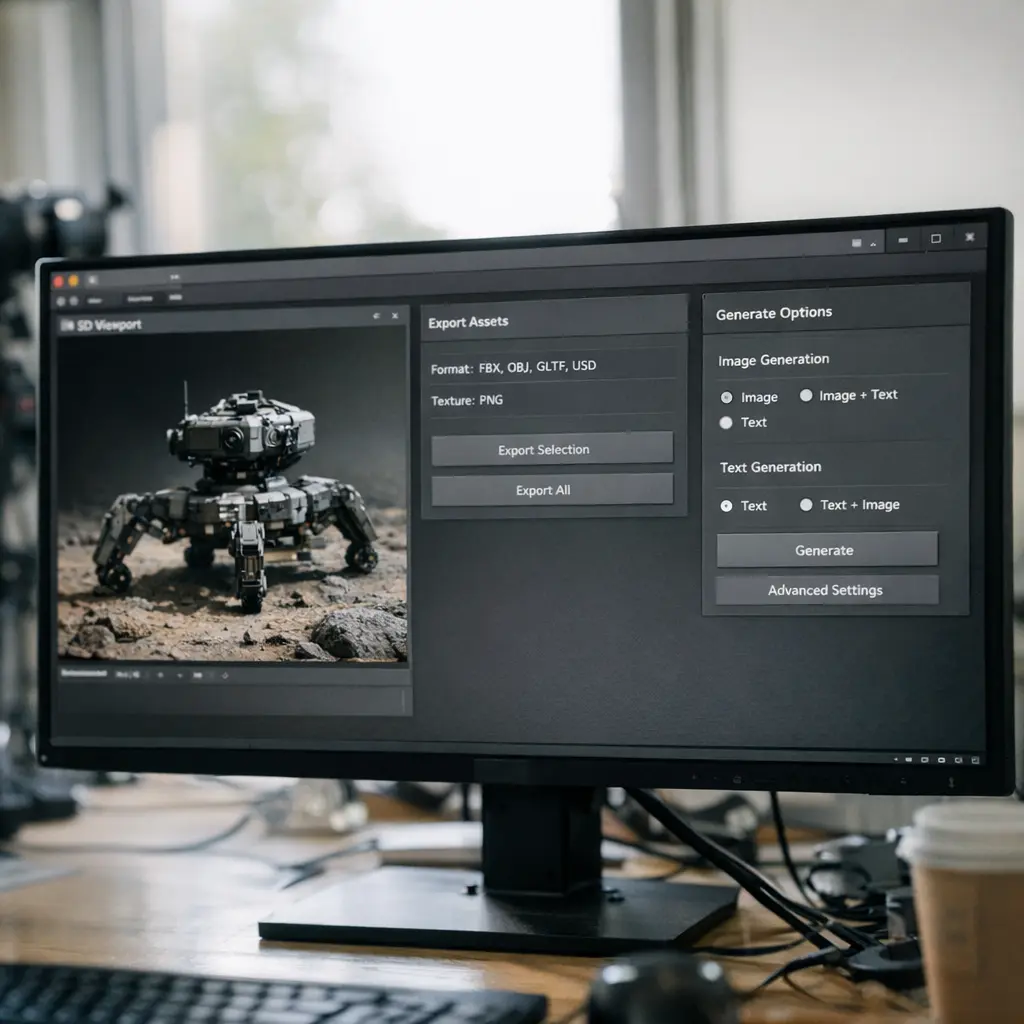
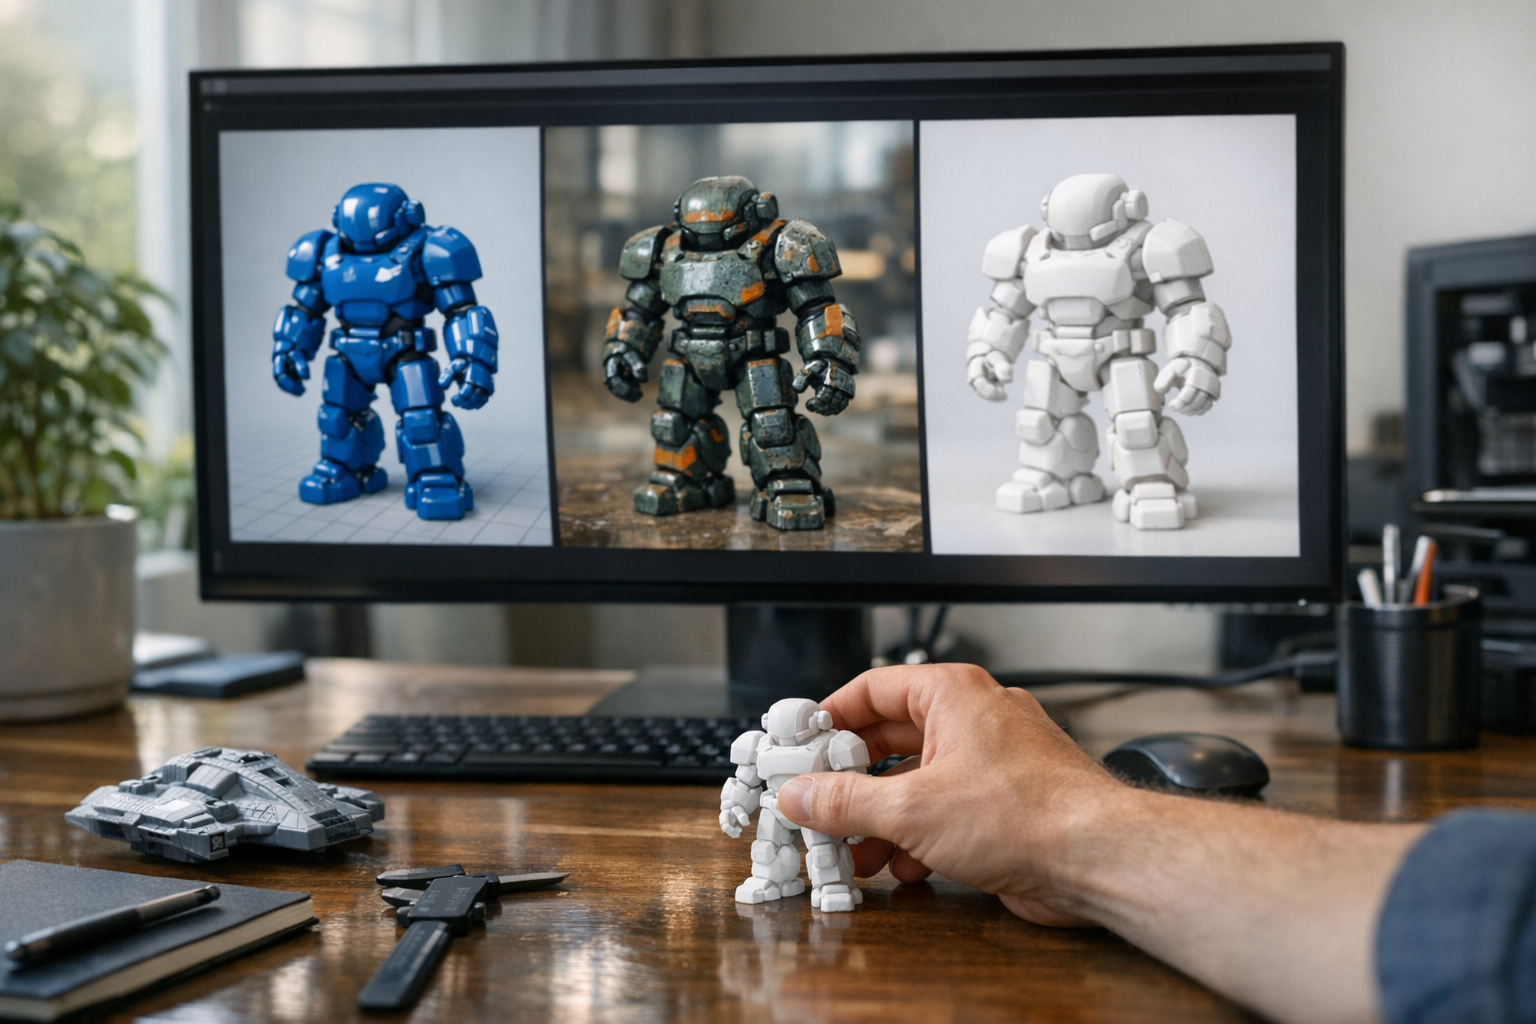
The image-to-3D workflow starts with a visual reference: concept art, a product photo, or even a hand-drawn sketch. The system (see /image-to-3d) analyzes the image, reconstructs base geometry, and infers surface details—think of it as a bridge between 2D vision and tangible 3D structure. This is massively useful for creators who care about visual consistency or need to preserve a specific style. I've watched artists upload stylized character sheets and get back 3D assets that actually look like the source material—not just generic approximations. This is especially valuable in collectibles, figurine design, and product concepting, where reference fidelity is everything. Texture-aware workflows can even extract color, pattern, and style cues from the original image, embedding them into the 3D output. Practical use cases? Think collectibles, figurines, rapid product visualization, and game asset creation where the look of the original is non-negotiable.
How Text-to-3D Workflows Work
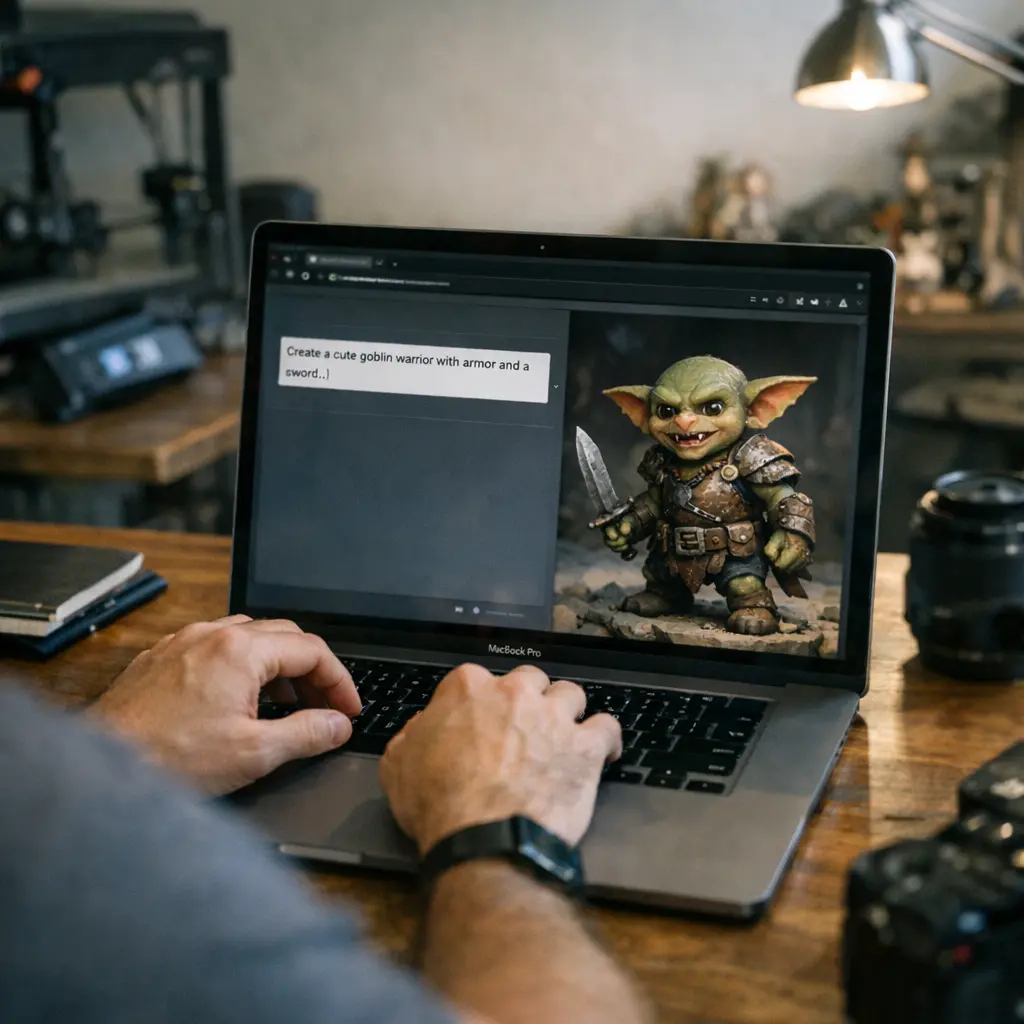
Text-to-3D flips the creative process: you start with a prompt, not a picture (/text-to-3d, /ai-3d-generator). You describe what you want—"retro sci-fi robot with chrome plating" or "low-poly forest spirit with glowing eyes"—and the system procedurally generates a 3D asset. This is the workflow for fast ideation and creative exploration. If you're a concept artist or game developer, sometimes you don't know exactly what you want until you see it. Text-to-3D lets you spawn dozens of variations, iterate on new ideas, and lock in a direction before you ever touch a polygon. It also excels at abstract concepts and fantasy designs where no reference image exists. The main strength here is flexibility: it's rapid, it's experimental, and it doesn't box you in to a pre-existing style or shape.
Which Workflow Produces Better Geometry?
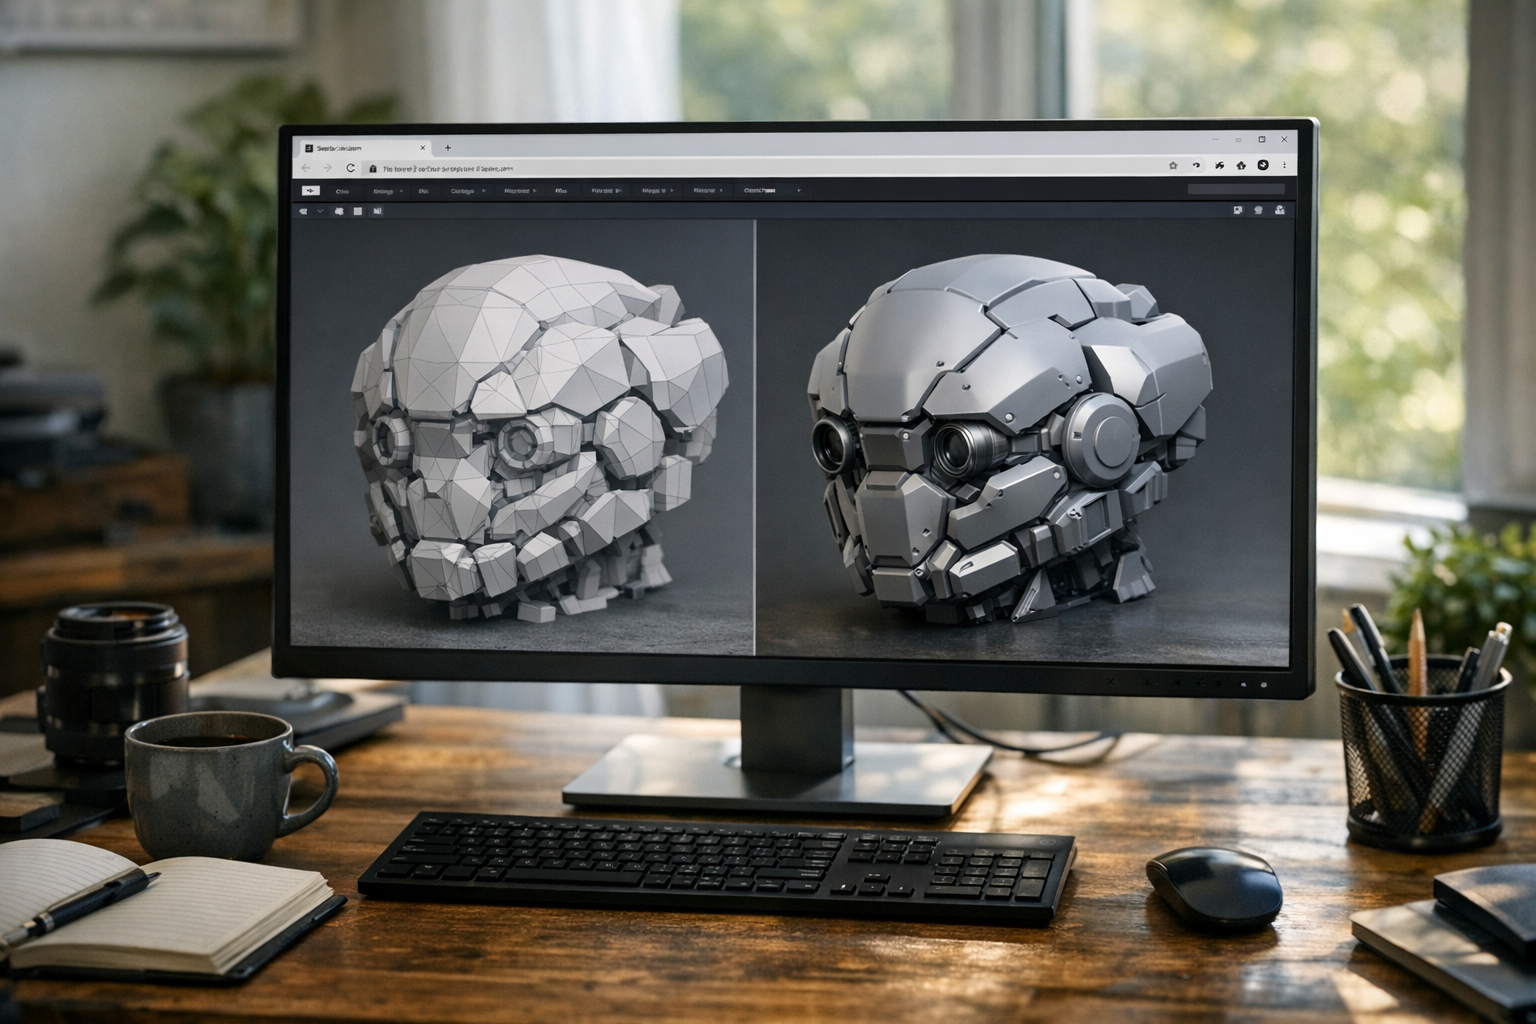
Geometry quality is where the image to 3D vs text to 3D debate gets real. Image-to-3D workflows often produce meshes that are closer to the source reference in shape and detail. They're more likely to capture specific pose, silhouette, and proportions, which is critical for collectibles or IP-locked assets. However, mesh consistency can be uneven, especially with complex or noisy images—cleanup and remeshing are almost always required before production use [1][2]. Text-to-3D workflows, meanwhile, sometimes generate more uniform topology, since the system works from procedural rules rather than direct visual cues. But they're susceptible to instability: odd geometry, floating artifacts, or non-manifold edges, especially with highly abstract prompts. Both pipelines benefit from browser-native remesh and refinement tools, like those in /hub, which can auto-repair geometry, close holes, and ensure manifoldness for 3D printing or game export. In my experience, neither workflow is perfect out of the box. The best results come from combining generation with post-process refinement—remeshing, topology cleanup, and texture baking—before calling an asset production-ready.
Which Workflow Is Better for Different Creator Types?
Let's get practical. If you're a game asset creator, text-to-3D can be a goldmine for rapid prototyping and populating worlds with unique objects. But for hero assets or anything requiring strict art direction, image-to-3D is usually the safer bet. Product designers lean toward image-to-3D for visual fidelity—think packaging mockups or industrial concepts where the look has to match the pitch deck. 3D printing enthusiasts? Both workflows work, but image-to-3D excels for figurines and collectibles where the original art matters. Concept artists will often bounce between both: reference images for established designs, text prompts for blue-sky exploration. Indie developers and social media creators favor whichever pipeline gets them content fastest—usually text-to-3D for quick, stylized posts, image-to-3D for branded or recognizable IP. The truth is, the "best" workflow depends on the asset's end use, the need for consistency vs. flexibility, and your production speed requirements.
Preparing Assets for Printing and Production
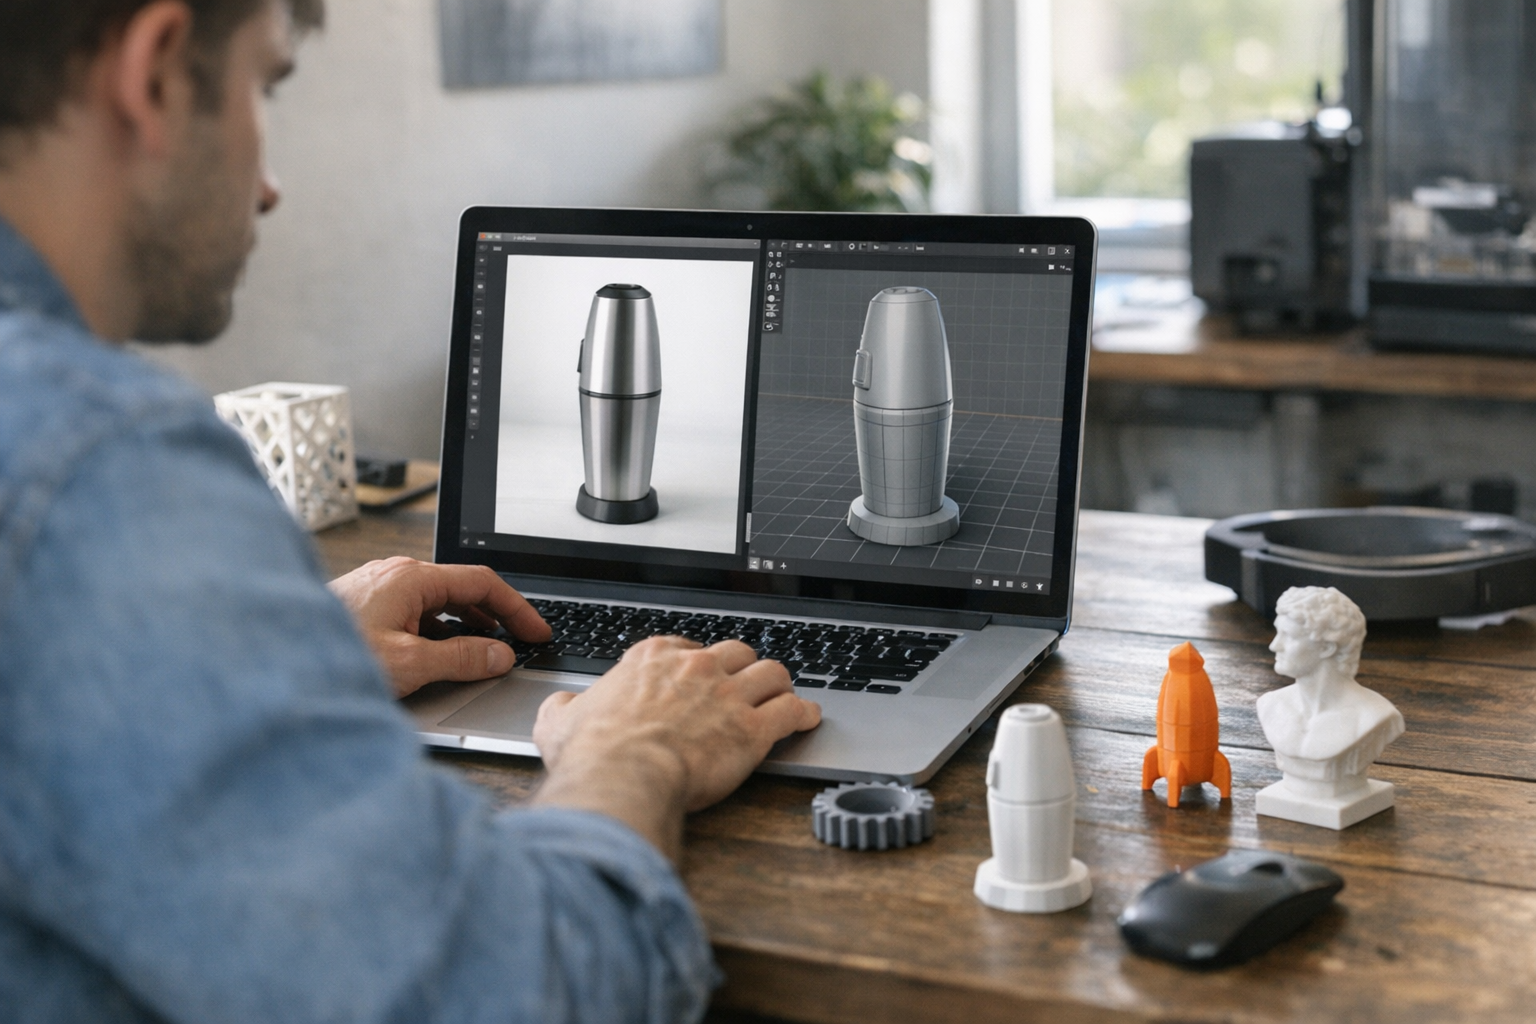
Here's where browser-native workflows like /3dprint and /3d-print-model-generator shine. After generation, assets go through remeshing and geometry cleanup to make them printable (watertight, no non-manifold edges, uniform surfaces). Browser previews let you inspect mesh integrity before export—no more guessing if your STL will slice. Texture workflows let you bake, adjust, or strip textures based on your output format (GLB/GLTF for real-time, STL for 3D print). Export systems are streamlined: download your asset in the right format, ready for slicing or direct import into a production pipeline. This workflow eliminates the "Blender bottleneck"—you don't need to round-trip through offline tools just to fix mesh issues or prep for print. It's a huge time saver, especially for creators who want to go from concept to print-ready in a single session. For a step-by-step example, check out How to Turn an Image into a 3D Printable Model: A Practical Guide.
Real Workflow Comparisons
Let's look at four production workflows, each highlighting strengths and tradeoffs.
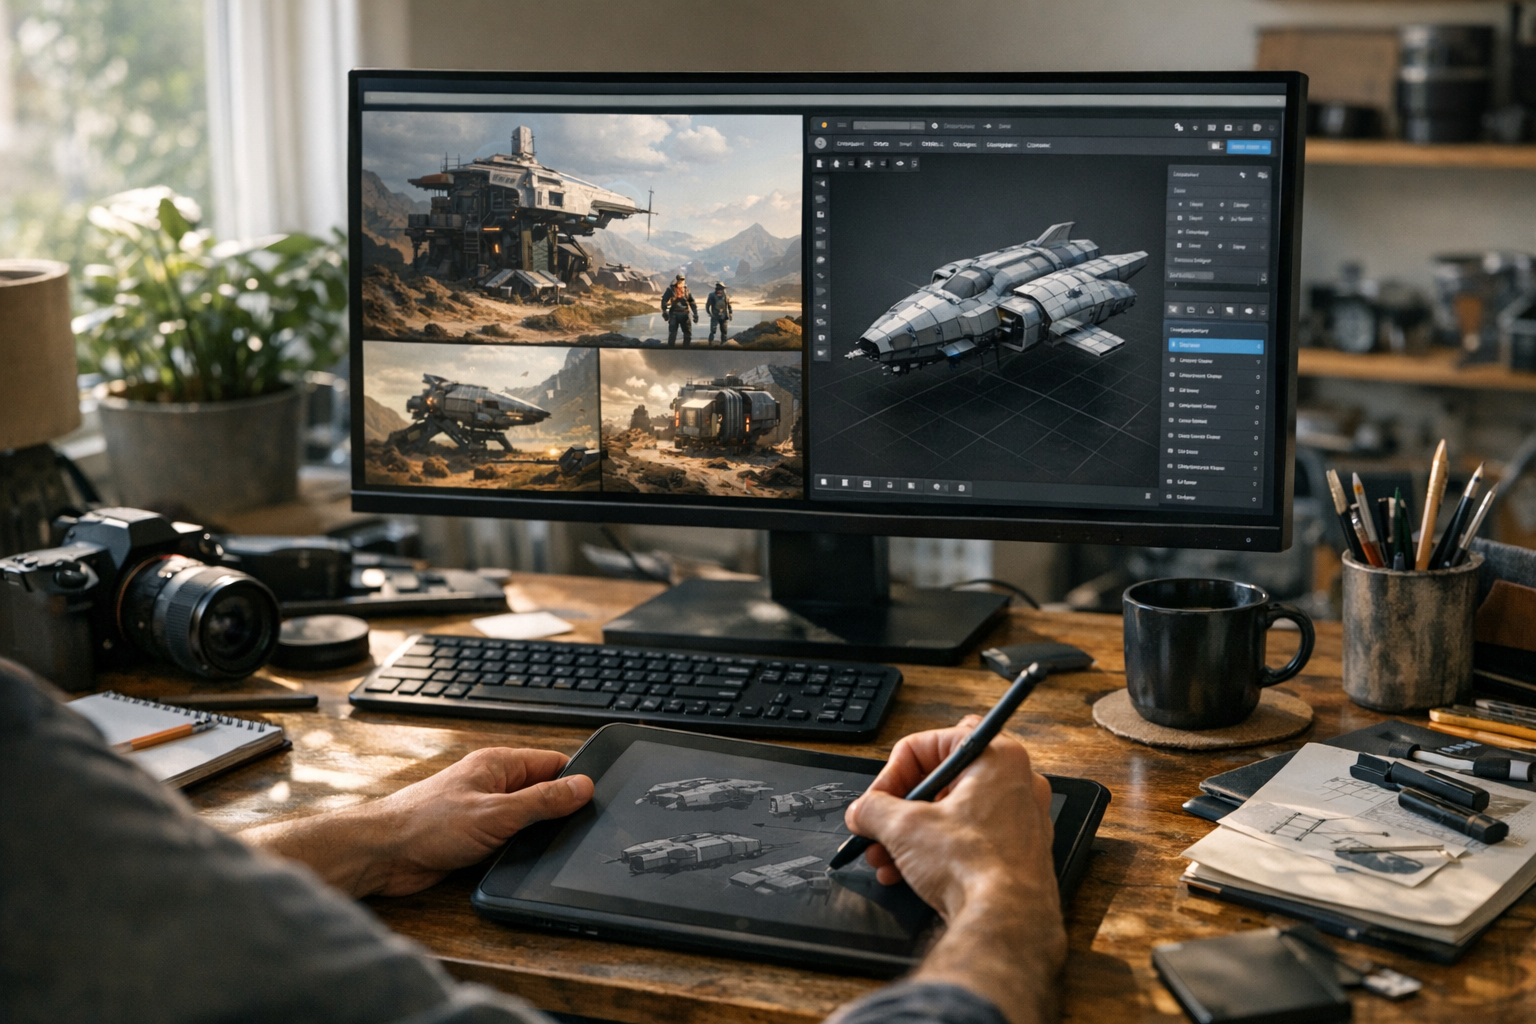
- Workflow 1: Concept art → image-to-3D → remesh → export. Great for visual fidelity and IP-sensitive assets, but sometimes needs manual geometry tweaks.
- Workflow 2: Text prompt → 3D asset → texture refinement → print-ready preparation. Fastest for prototyping and stylized assets, but can require more post-generation cleanup.
- Workflow 3: Product concept → image reference → geometry refinement. Ideal for designers who iterate on real-world objects and need accurate proportions.
- Workflow 4: Fantasy concept → text-to-3D → stylized asset pipeline. Perfect for rapid ideation and generating large volumes of unique game or media content.
No pipeline is one-size-fits-all. The best results come from understanding your asset's purpose and choosing the workflow that minimizes bottlenecks—sometimes that's reference-driven, sometimes it's prompt-driven, often it's a hybrid. For a detailed breakdown of browser-based workflows, see From Concept Art to 3D Model: A Complete Browser-Based Workflow.
The Rise of Multimodal Creator Pipelines
Here's the thing: most serious creators combine workflows. Multimodal creator pipelines are the new normal. You might start with an image-to-3D base, refine geometry, and then use text prompts to generate variant accessories or environmental props. Or, you prototype with text-to-3D, then switch to image-based refinement for your final hero model. Integrated browser-native platforms like /hub enable this fluid, asset-centric process. You work in real time, preview models instantly, and export only when you're satisfied. This is miles ahead of the old model—multiple programs, manual conversions, and endless exporting. It's not just about speed. It's about creative flexibility and pipeline resilience. If you care about workflow efficiency and production readiness, multimodal, browser-native pipelines are the only option that scales.
Which Workflow Is Best Overall?
Let's be blunt: there's no universal winner in the image to 3D vs text to 3D debate. If you need visual consistency, brand fidelity, or to stay true to concept art, image-to-3D is the best approach. For fast prototyping, creative experimentation, and populating worlds with unique assets, text-to-3D wins. The smartest creators use both, switching between them as the project demands. The real advantage is having both options inside a unified, browser-native pipeline—so you can pivot, iterate, and export without friction. That's what future-proof creator production looks like.
Conclusion
Creator workflows have fundamentally shifted. Multimodal asset generation, browser-native production, and workflow flexibility aren't just buzzwords—they're how real assets get made, fast. Whether you're building for games, print, or digital media, having access to both image-to-3D and text-to-3D workflows is non-negotiable. If you haven't explored these pipelines yet, start with /hub for integrated workflows, /3dprint for print-readiness, and check out the latest deep dives on /blogs and /archive to see how creators are making the most of browser-native systems. The future is multimodal, export-ready, and web-first.
FAQ
- Is image-to-3D better than text-to-3D? Not always—image-to-3D is better for style fidelity, but text-to-3D is faster for prototyping and exploration.
- What are the advantages of image-to-3D workflows? They preserve visual consistency, work well with concept art, and deliver assets true to the source image.
- Can text-to-3D create production-ready assets? Yes, especially with browser-native remeshing and refinement. Some cleanup is often required.
- Which workflow is better for 3D printing? Both work, but image-to-3D is best for collectibles and reference-driven prints. Always check mesh integrity.
- Can creators combine image and text-based workflows? Absolutely. The best pipelines use both for maximum creative flexibility and speed.
Sources
- [1] Introducing Wonder 3D: New text and image to 3D AI ...
- [2] Generate 3D Models with AI From Text and Images
- [3] From Prompt to Print: How AI 3D Tools & 3D Printing Work ...
No validation references for this post.
Comments 0
Be the first to comment on this post.