
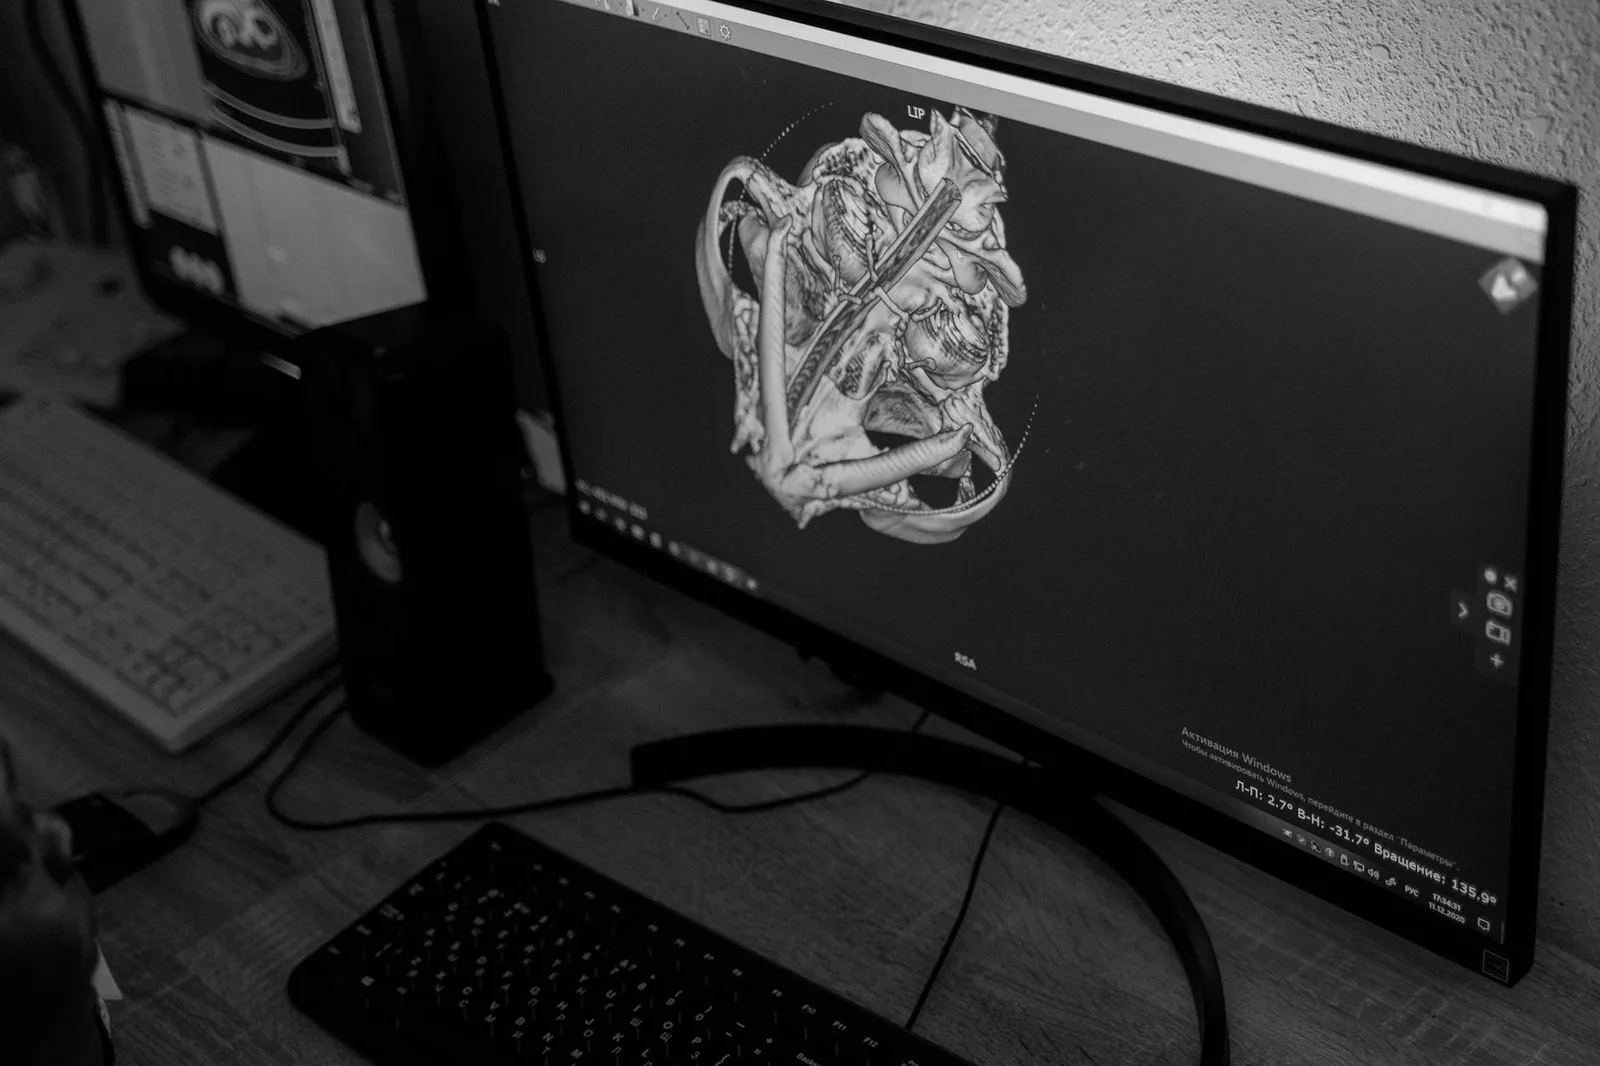

Text-to-3D and image-to-3D AI workflows have exploded in popularity with the rise of browser-based 3D model generation. If you’re a developer, 3D artist, or creative technologist, you’ve probably wondered: which option actually works better? I’ve used both approaches extensively, and the answer depends on your priorities—speed, control, fidelity, or creative exploration. Let’s break down the pros and cons, look at real examples, and I’ll give you a concrete recommendation based on what matters most in production workflows.
How Text-to-3D Works: Simplicity and Possibilities
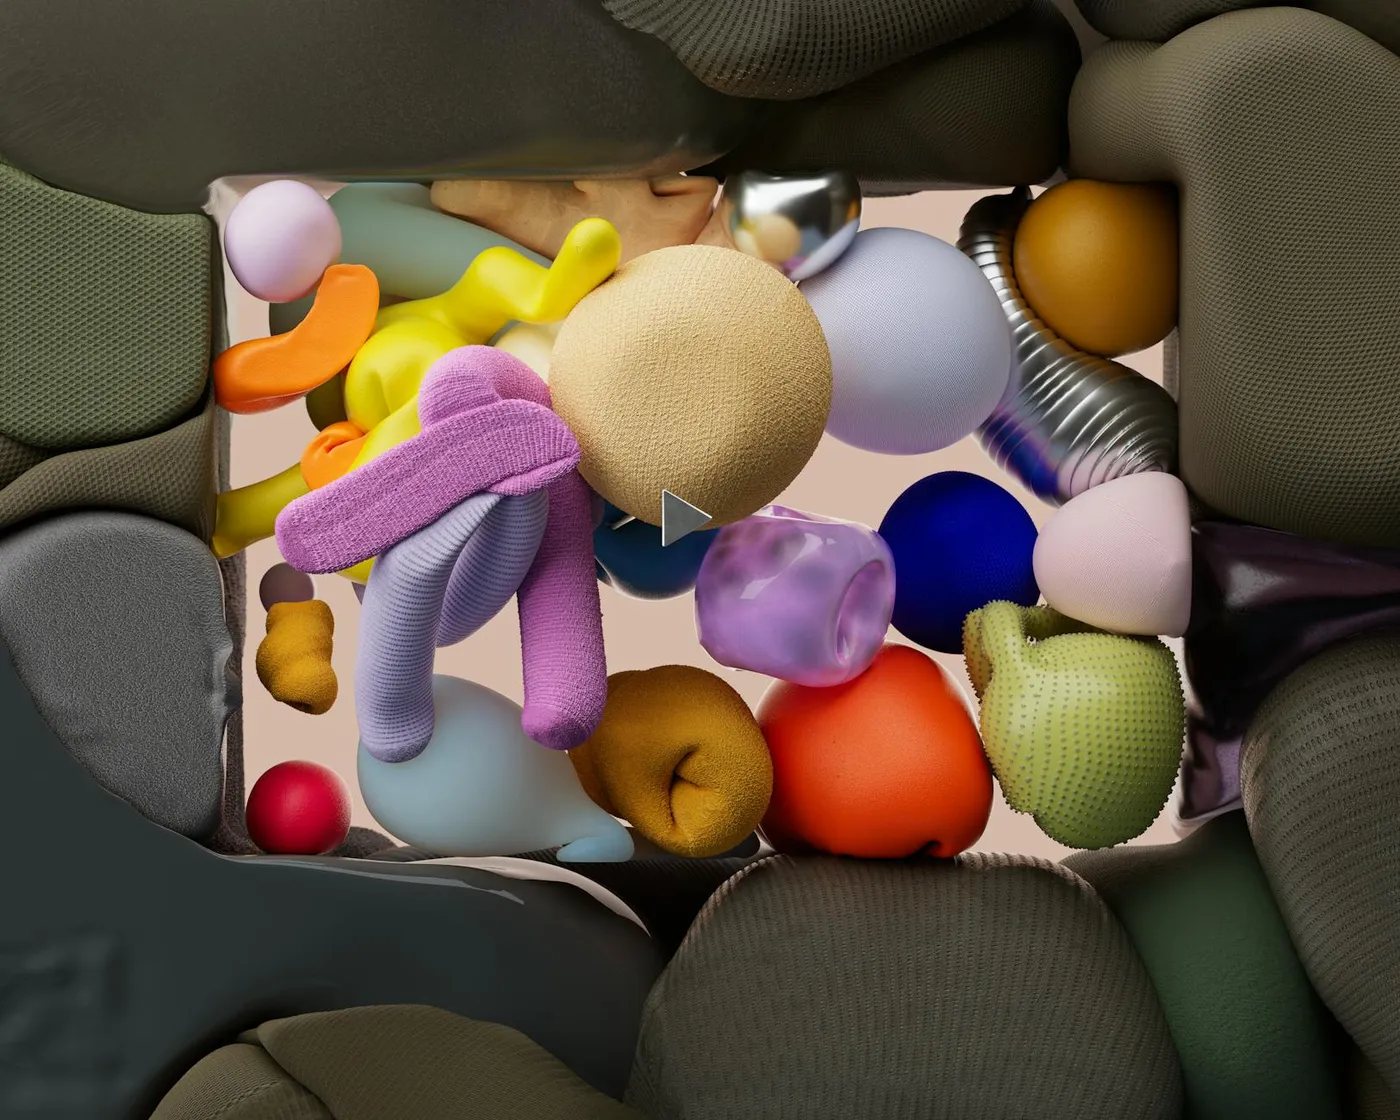
Text-to-3D is the classic approach: type a prompt ('a futuristic chair', 'medieval castle', 'robotic dog') and let the AI generate a 3D mesh from scratch. Tools like TimrX’s AI 3D Generator, Tripo, and Wonder Studio support this out of the box. The appeal is obvious—no need for source images, just imagination. This is fantastic for rapid ideation or when you don’t have a visual reference. The workflow is simple:
- Describe your idea in natural language
- Submit the prompt to an AI 3D generator
- Review the resulting 3D model and iterate
But here’s the thing: with simplicity comes unpredictability. Anyone who’s tried text-to-3D knows results can be hit or miss. Descriptions like 'a blue sports car with spoiler' might yield a car-shaped blob with vague features. Text prompts are open to interpretation, so the model’s training data and prompt parsing become the bottleneck. This is the best approach when you’re prototyping, exploring a wide design space, or generating lots of variants quickly. If you want precision, though, it gets tricky.
How Image-to-3D Works: Control and Fidelity
Image-to-3D flips the script. Rather than describing in words, you upload a reference image—sketch, photo, or concept art. The AI extracts geometry, color, and sometimes texture from your source. TimrX’s image-to-3D and similar tools have made this workflow accessible in the browser. The process is:
- Upload a 2D image (drawing, render, or photo)
- AI interprets the image to build a 3D model
- Export and refine as needed
This method gives you way more control over the outcome. If you want a chair that matches your sketch—down to the silhouette and proportions—image-to-3D is the clear winner. In my experience, it’s also less likely to generate off-model results or weird artifacts. Studies and user reports back this up: image-to-3D generally yields higher fidelity, more usable models for production work, especially when you have a clear visual target [1][3].
Side-by-Side Comparison: Where Each Workflow Wins

- Speed: Text-to-3D is usually faster—just type and go. Great for quick ideas.
- Control: Image-to-3D gives more direct control over shape and details [1][3].
- Creativity: Text-to-3D is better for unexpected, out-of-the-box results.
- Fidelity: Image-to-3D typically produces more accurate, usable assets [1][2][3].
- Iteration: Image-to-3D shines when refining based on feedback or art direction.
Here’s my stance: for professional projects, especially in gaming, AR/VR, or 3D printing, image-to-3D is the best approach if you have even a rough visual to start from. For pure brainstorming or when you’re totally starting from scratch, text-to-3D is still valuable. Most teams use both, depending on the stage of the pipeline. Autodesk, Tripo, and others now offer both modes in their workflows for this exact reason [4].
Real-World Examples: Where Each Shines
Let’s put this into context with some practical scenarios.
- Rapid Prototyping: Need a dozen variants of a sci-fi prop? Use text-to-3D for breadth, then pick the best to refine.
- Client Work/Branding: When a client sends a logo or specific sketch, image-to-3D is the only way to guarantee accuracy.
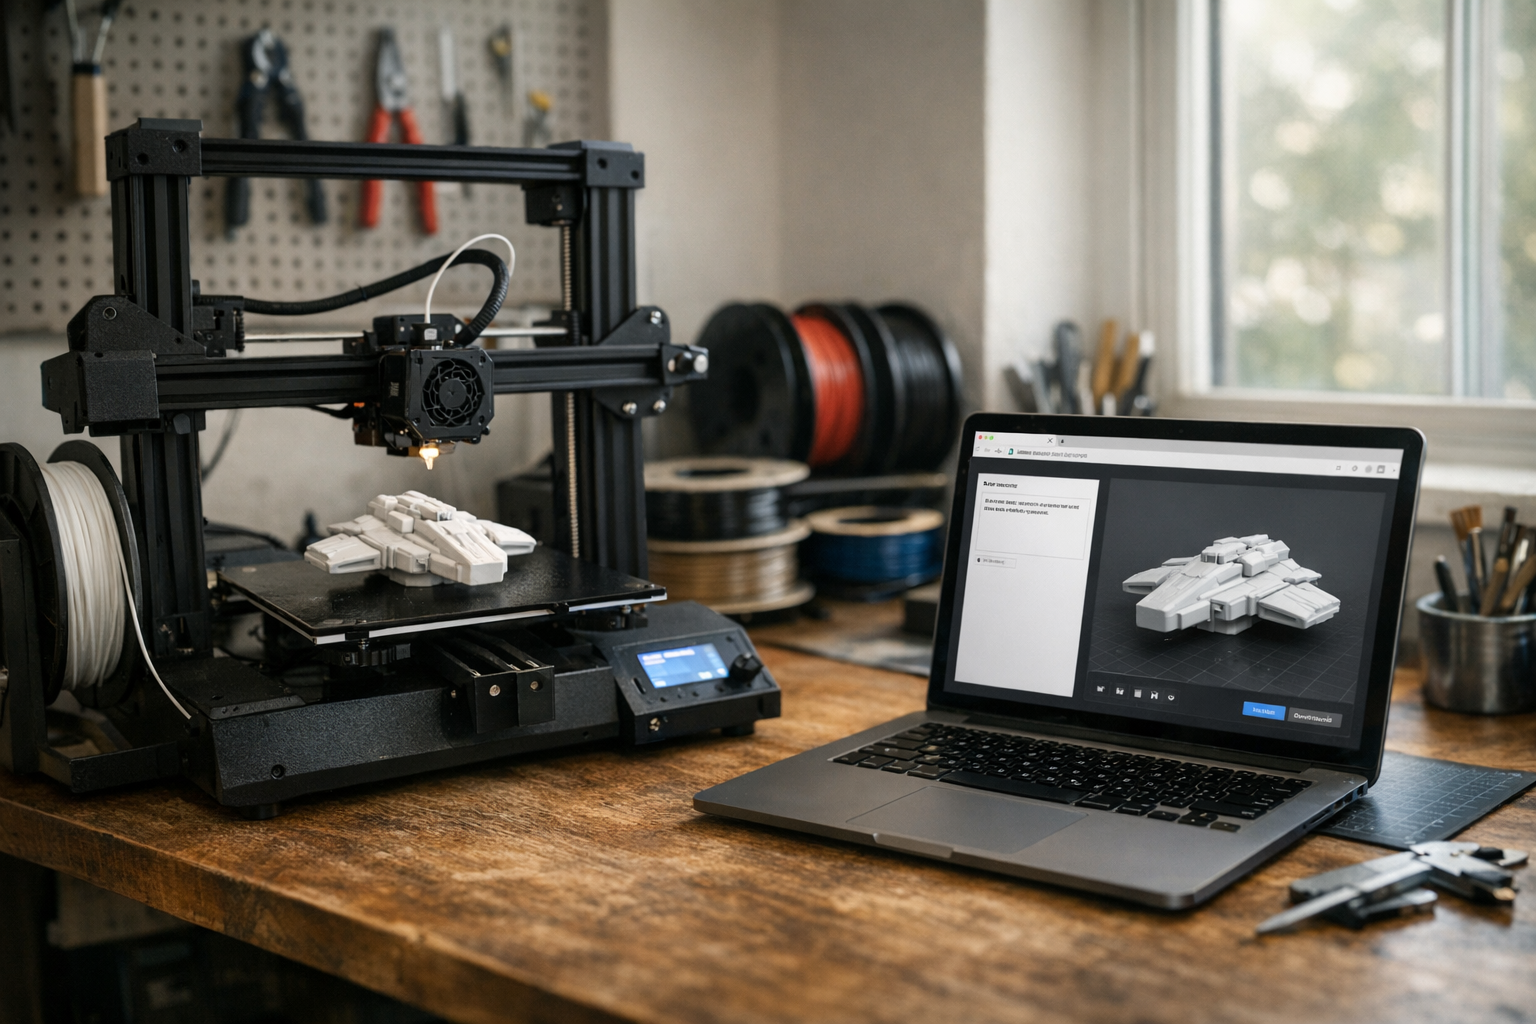
- 3D Printing: Precise models are non-negotiable. Start with image-to-3D for best results, then export to STL with tools like TimrX 3D Print.
- Asset Pipelines: Combine both—generate base meshes with text, refine details with image-to-3D, then bake out textures.
If you want a step-by-step look at how text-to-3D works in practice, check out this in-depth guide.
Try AI Generation Yourself
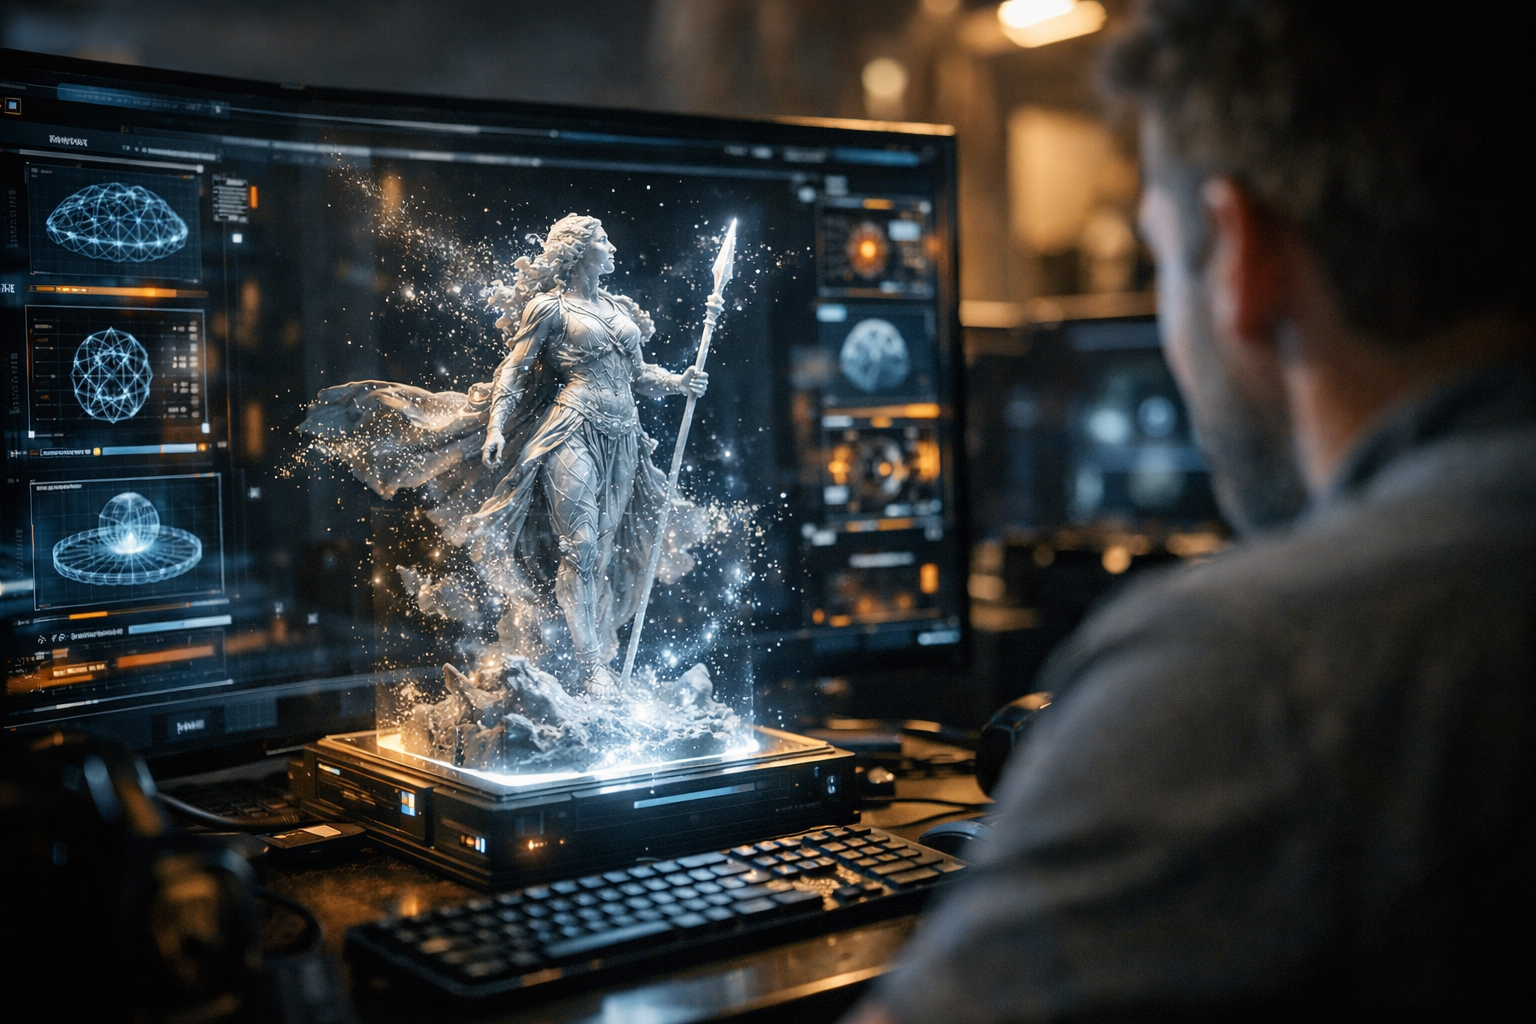
You don’t have to take my word for it. Platforms like TimrX allow you to generate AI images, AI videos, and AI 3D models directly in your browser. Test both text-to-3D and image-to-3D workflows, compare the outputs, and see which fits your creative process best.
Conclusion: Which Should You Use?
Here’s what I tell teams: start with text-to-3D for ideation. Move to image-to-3D for refinement and production. If you need speed and don’t care if the model is a bit off, text is fine. If you need accuracy or want to match a specific vision, image-to-3D is hands-down better [1][3]. The best workflows mix both, using each where it excels. This hybrid approach is what’s powering next-gen content creation—and the reason modern platforms don’t force you to pick just one.
FAQ
- Which is faster: text-to-3D or image-to-3D?
Text-to-3D is usually quicker for initial generation, but image-to-3D saves time in revisions. - Is image-to-3D always more accurate?
Reportedly, yes. Image-to-3D aligns more closely with your visual source and is less prone to off-model results [1][3]. - Can I use both workflows in the same project?
Absolutely. Many creators start with text-to-3D for ideation, then switch to image-to-3D for polishing and final output [4]. - Are these workflows browser-based?
Yes. Tools like TimrX offer both image-to-3D and text-to-3D generation directly in the browser—no installs needed.
Sources
- [1] Why Image-to-3D is Better Than Text-to-3D: Maximizing ...
- [2] Text to 3D vs AI generated image to 3D using 3daistudio
- [3] Image-to-3D vs. Text-to-3D: When to Use Each in Your ...
- [4] New text and image to 3D AI models in Autodesk Flow Studio
Comments 0
Be the first to comment on this post.