
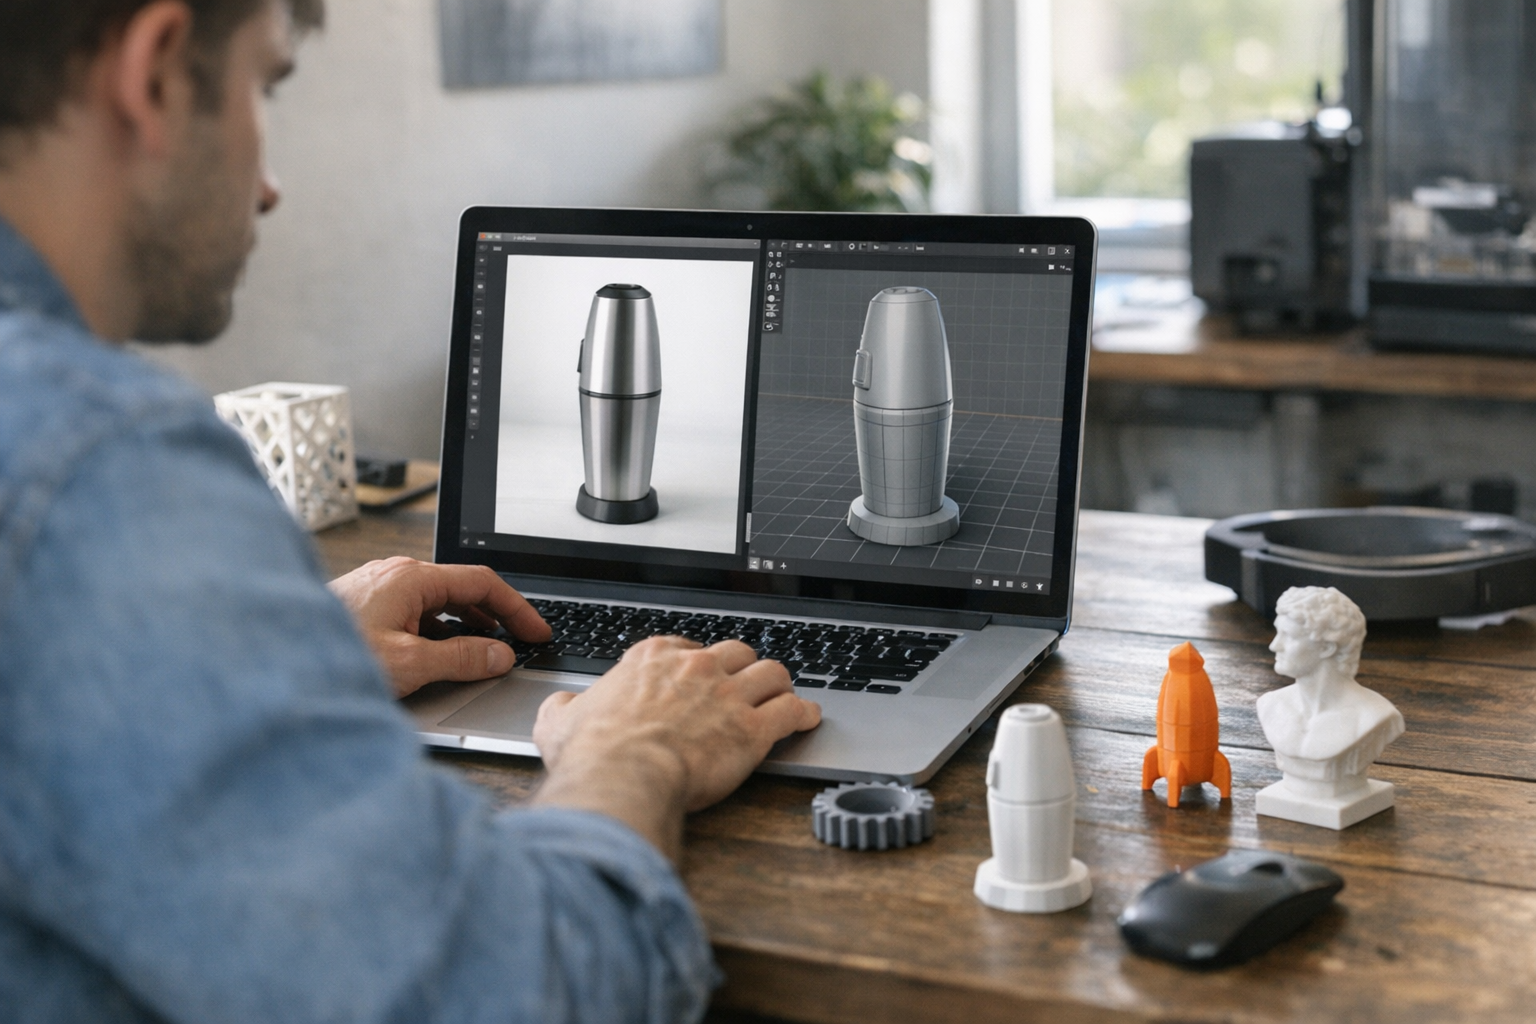
Creators want physical versions of their ideas—fast. Whether it's a product render, a sketch on a napkin, or a piece of concept art, being able to convert a single image to a 3D model that you can actually print is a huge deal. Not just for hobbyists, but for artists, designers, and engineers trying to iterate at speed. Traditional pipelines—Blender, ZBrush, Maya—are powerful, but they're slow and demand a steep learning curve. Here's the thing: browser-based 3D modeling workflows now make it possible to go from image to printable 3D model in hours, not weeks. And you don't need to install a single plugin or desktop app.
What Makes a Good Source Image?
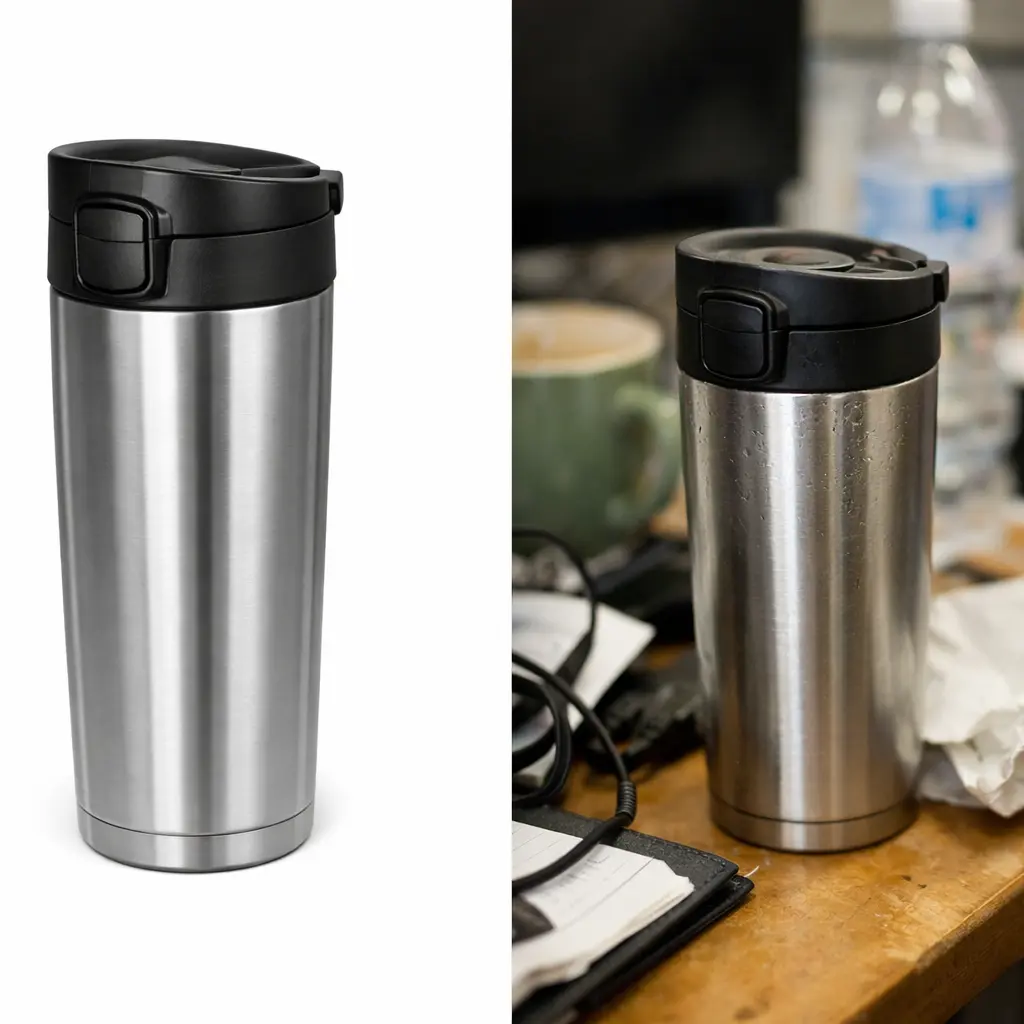
Not every image is a good candidate for conversion to 3D. The best results come from images with clear silhouettes, high contrast, and uncluttered backgrounds. Think: a product photo shot against a white backdrop, a crisp digital illustration, or a scanned marker sketch with strong outlines. Concept art and stylized illustrations can work well if they have distinct forms and aren't overloaded with visual noise. What doesn't work? Photos with busy backgrounds, low contrast, or overlapping objects. Even the most sophisticated online 3D model generator will struggle with a blurry selfie in a crowded room. If in doubt, simplify. A clean input almost always means a better output.
Step 1: Generate or Choose Your Reference Image
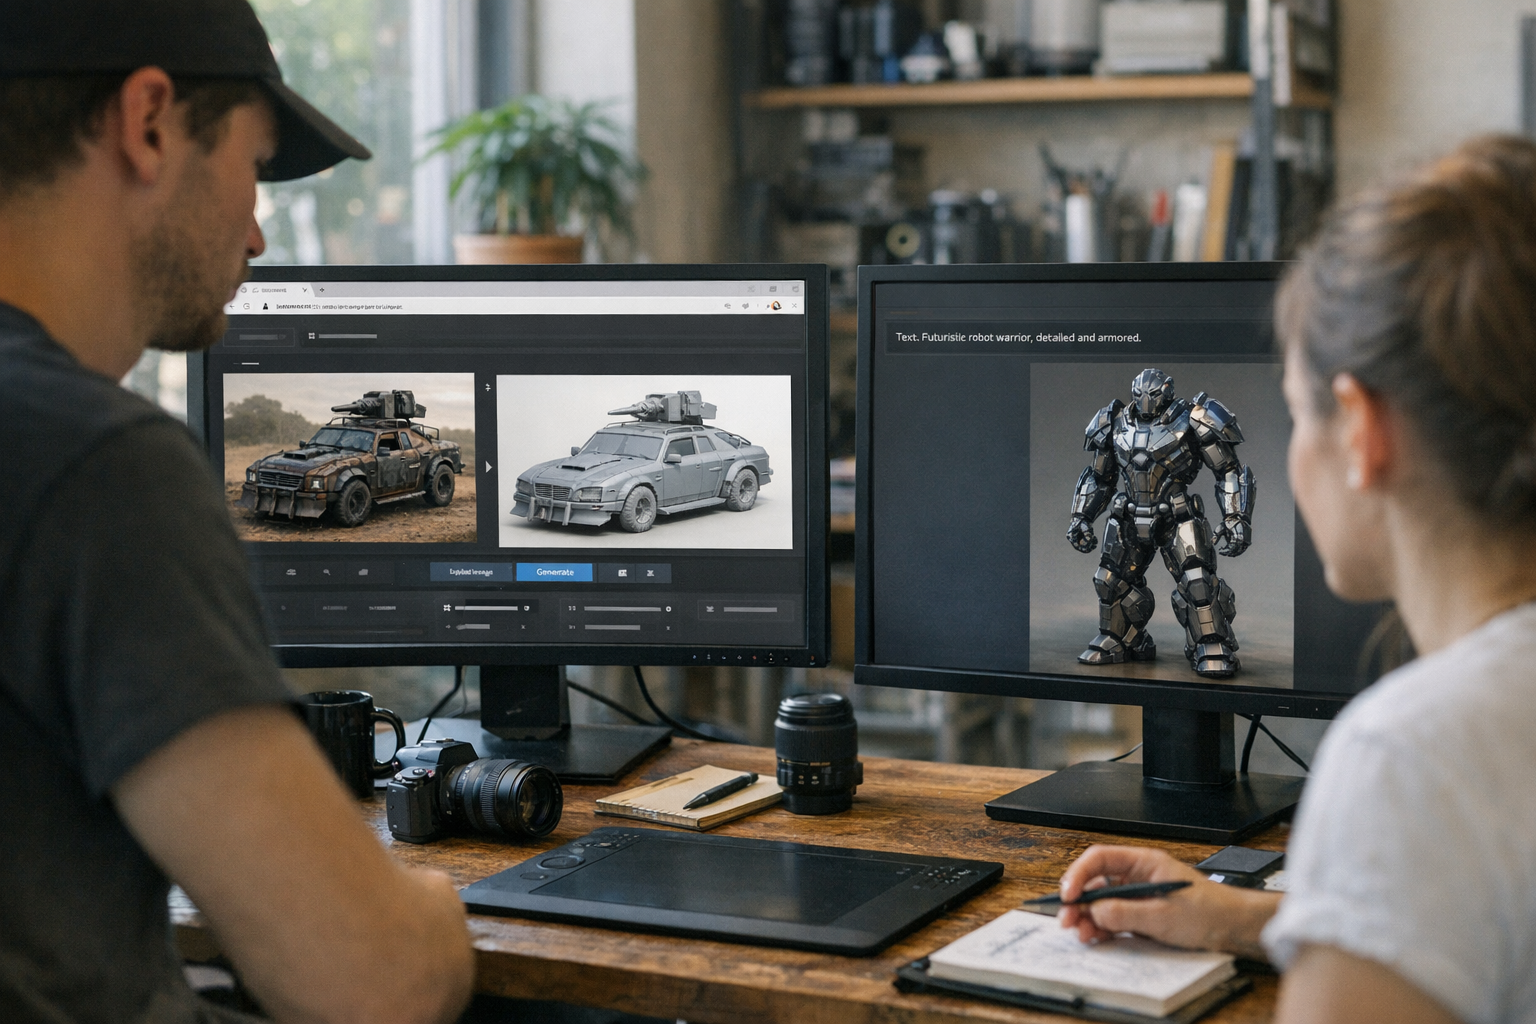
You need a strong starting point. If you already have a great product photo or a refined concept sketch, you're set. Otherwise, browser-native tools like the TimrX AI Image Generator let you quickly produce concept art, product references, or collectible ideas right in your browser. I've found that iterating on generated artwork—refining prompts, adjusting style, varying perspective—lets you dial in the perfect reference before heading to 3D. For figurines, collectibles, or decorative objects, generated images often spark more creative options than a photo. But for real-world products, especially those with strict dimensions, photographs (ideally with a ruler or reference object) give the most reliable geometry. The key is: start with an image that matches your intended outcome.
Step 2: Convert the Image Into a 3D Model
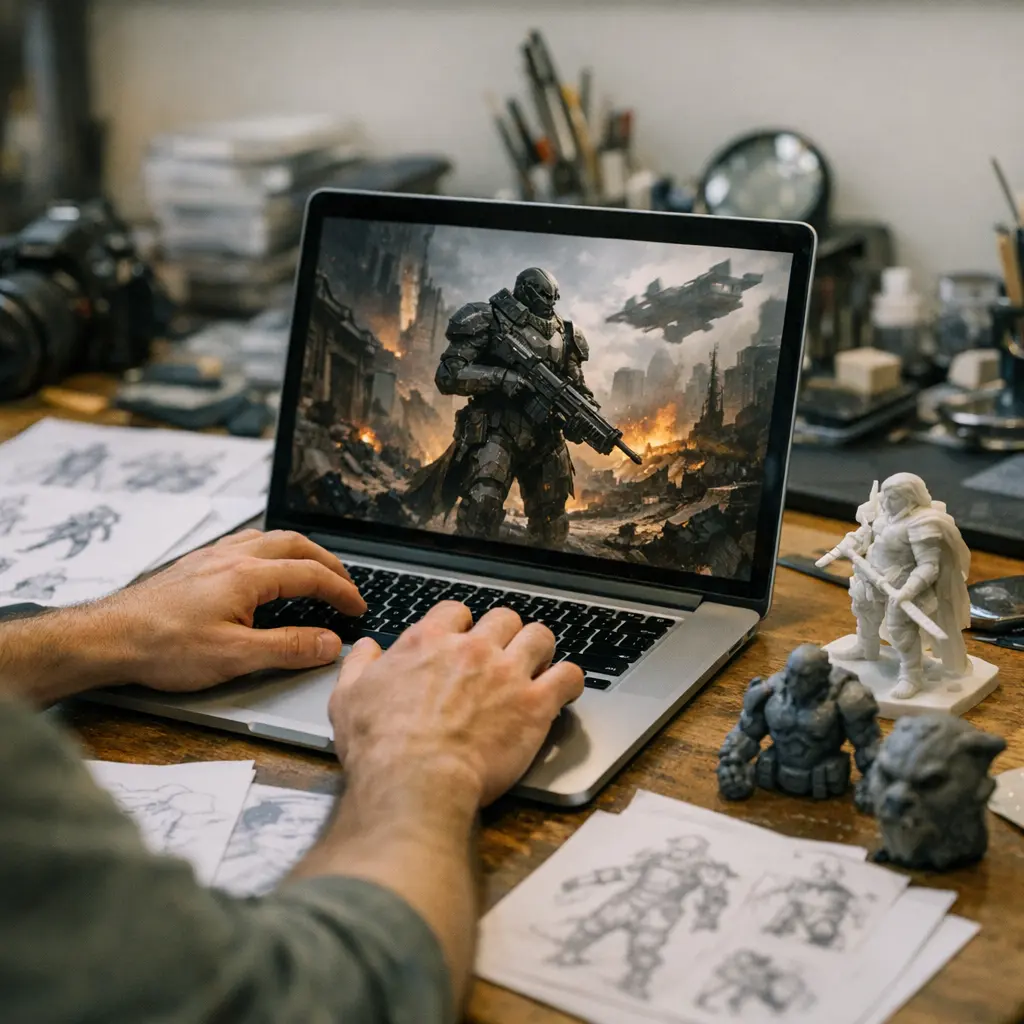
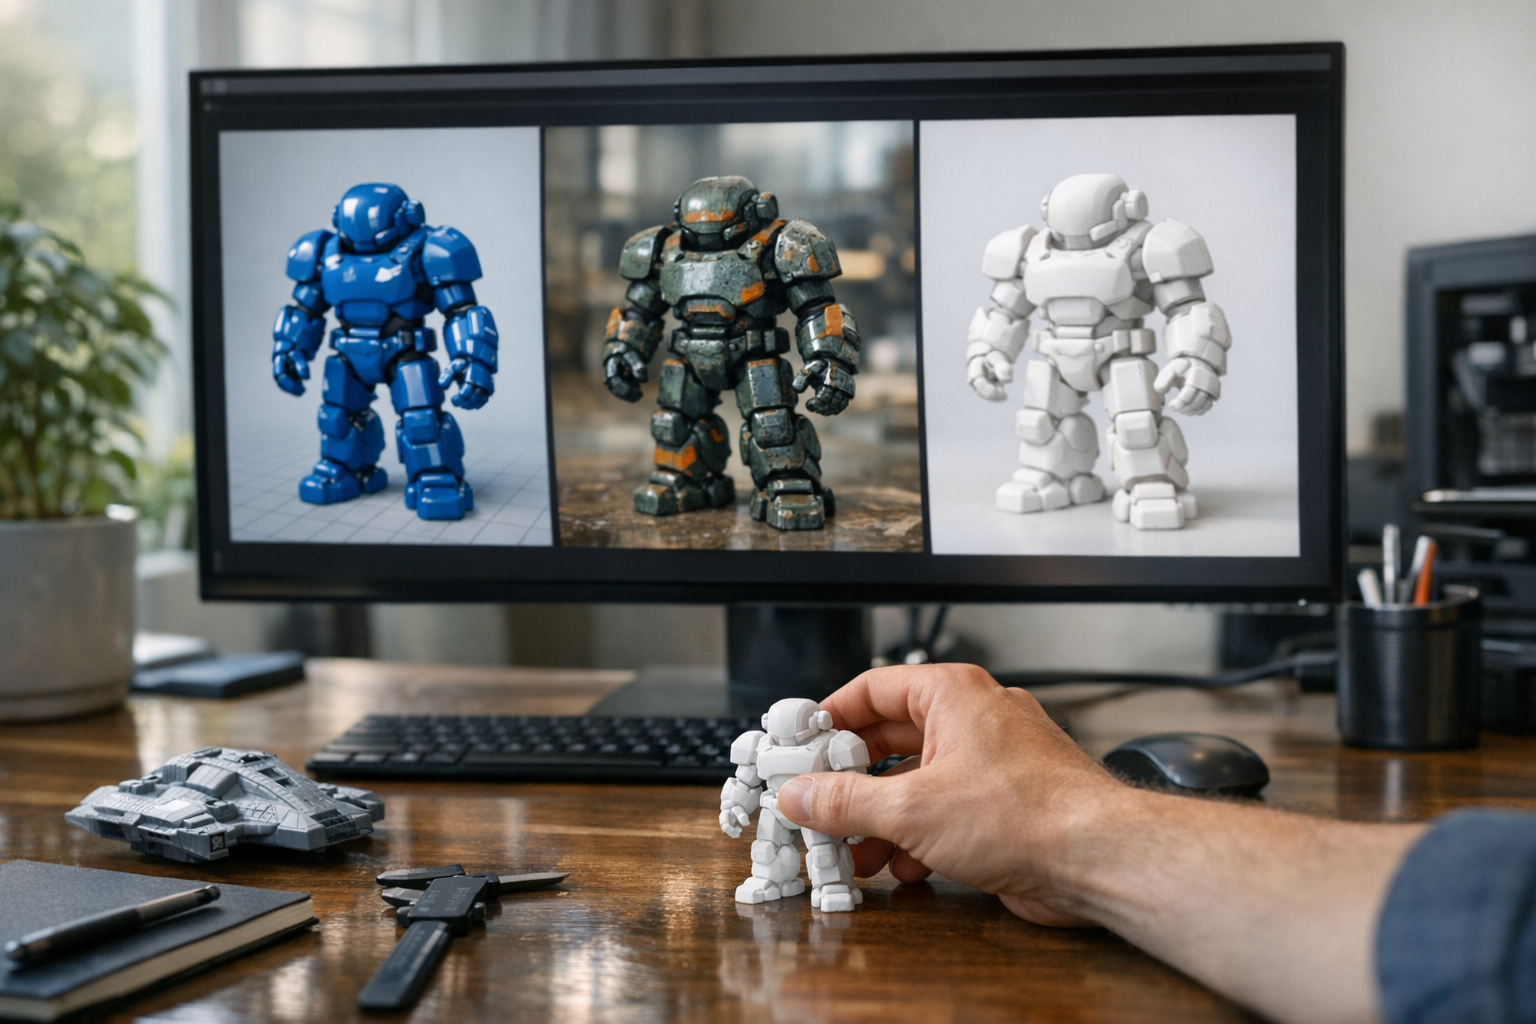
Now you move from 2D to 3D. Using the TimrX Image to 3D tool, you can upload your reference and let the system interpret the image, extract depth information, and generate an initial mesh. The process isn't magic—it's based on shape estimation, edge detection, and sometimes learned priors from large datasets. The quality of your output strongly depends on the clarity and shape definition in your input. For miniatures and collectibles, stylized conversion is often what you want: exaggerated features, simplified forms, and textures that give character. For product prototypes or game assets, preserving visual proportions is critical. I've seen the best results when creators use product photos with clean lighting or digital illustrations with solid contours. The tool also supports texture-aware generation, so color and shading in your image can influence the appearance of your model. Use cases? Miniatures, decorative objects, concept prototypes, functional product models, and game-ready props. For more on the differences between image-to-3D and text-to-3D, see this detailed workflow comparison.
Step 3: Refine the Geometry
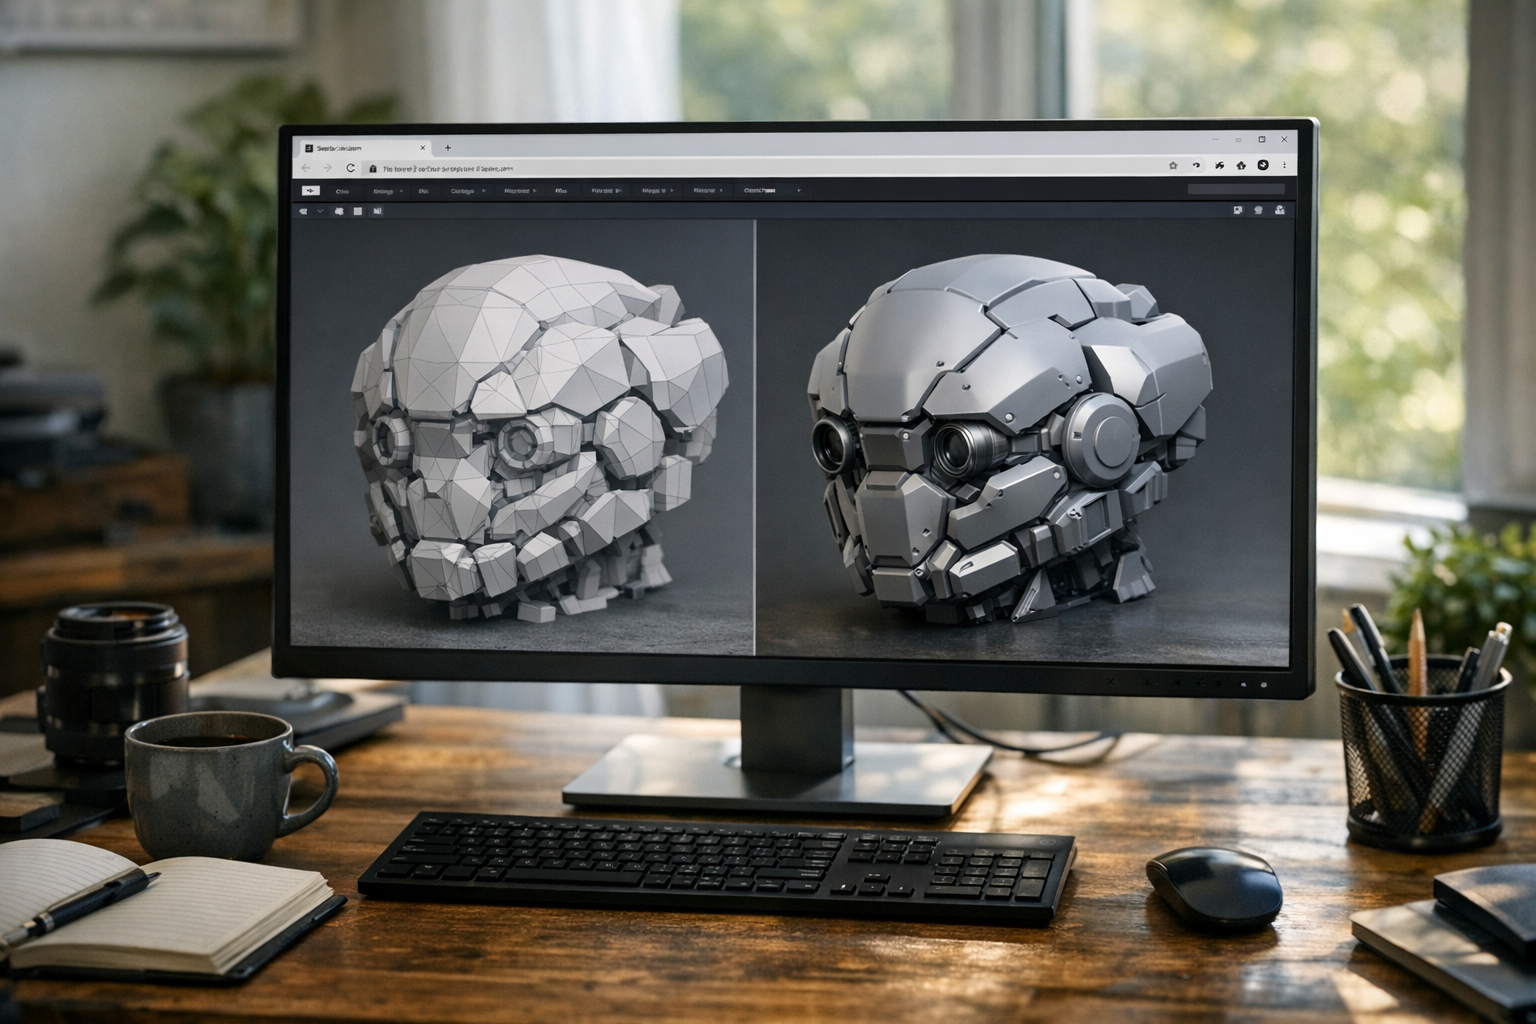
Raw 3D meshes are rarely print-ready. That's where browser-based 3D print workspaces like TimrX 3D Print change the game. You can remesh, clean up geometry, and preview your model directly in the browser. Remeshing helps create uniform polygons, which is critical for smooth surfaces and predictable slicing. Topology refinement removes stray faces, fills holes, and reduces unnecessary complexity. Geometry cleanup—removing small disconnected parts, flattening noisy surfaces—prevents failed prints and ugly artifacts. Previewing the model in a WebGL workspace before export lets you catch problems early. In my experience, spending an extra 10 minutes on geometry refinement can save hours of wasted print time. For a deeper dive into fixing models for printing, check out this guide.
Step 4: Prepare for 3D Printing
This is where digital meets physical. You need to ensure your model is properly oriented so it prints with minimal supports and optimal strength. Geometry needs to be watertight—no open edges, no gaps. Consistent wall thickness is essential, especially if you're printing miniatures or architectural models. Printable proportions matter: thin details or unsupported overhangs often fail to print, especially on FDM printers. Scale your model to match your printer's build volume, and always preview the model in the browser before exporting. Don't assume every model is immediately printable—sometimes you need to adjust thickness, merge parts, or tweak the base. For more on browser-native print prep, visit the TimrX 3D Print workspace.
Step 5: Export Your Model
When it comes to export formats, GLB and GLTF are the best bets for browser-based workflows and modern slicers. GLB is compact and includes textures, making it ideal for asset pipelines and quick previews. OBJ and STL are still standard for 3D printing, but GLB keeps things simple when you want textures or are moving assets into game engines. The TimrX 3D Print Model Generator streamlines export, letting you download models ready for slicing or further editing. Before final export, double-check scale, orientation, and that your geometry is manifold (watertight). For a full breakdown of file formats, see this comparison.
Common Mistakes When Converting Images to 3D
Most failed conversions come down to poor source images—noisy backgrounds, blurry edges, or images with too many overlapping details. Another big mistake is expecting a miracle: you can't turn a low-res, low-contrast selfie into a detailed figurine. Missing geometry is common when objects blend into the background or are partially obscured. Excessive detail or thin structures are notorious for breaking during printing. Unsupported overhangs (think: arms sticking out horizontally) often require manual support or re-orientation. And skipping refinement? That almost guarantees bad results. If you want to avoid these traps, focus on clean images, plan for printability, and always review your mesh in the browser.
Real Creator Workflow Examples
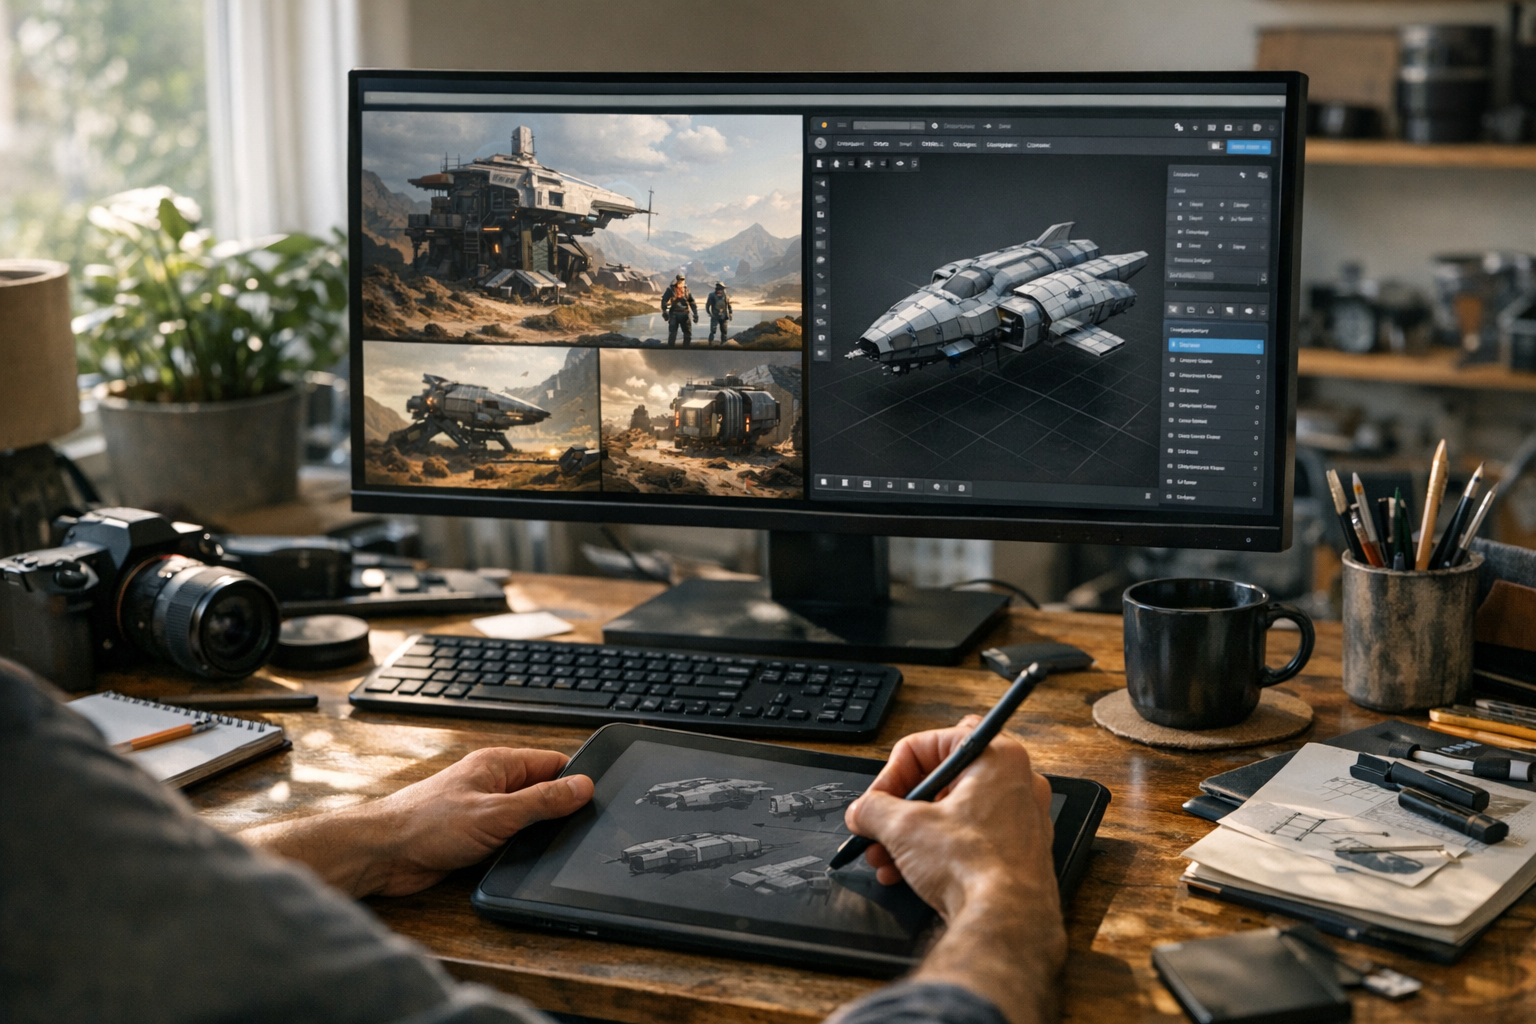
Let’s talk real pipelines. Here are four creator-tested workflows that take advantage of browser-based 3D modeling:
- Collectible Figure: Reference image (artwork or photo) → upload to Image to 3D → browser-based refinement → preview in WebGL → export in GLB → print.
- Product Prototype: Hand-drawn sketch → scanned or photographed → converted to 3D → geometry cleanup in browser → export for rapid prototyping.
- Decorative Object: Illustration or logo → image-to-3D workflow → geometry cleanup and base generation → print-ready export.
- Game Prop: Concept art → image-to-3D conversion → browser-based asset refinement → GLB export for game engine import.
For an extended creator workflow, see this step-by-step breakdown.
Why Browser-Based Workflows Are Becoming Popular
The old way? Downloading gigabytes of software, managing plugins, dealing with version conflicts. With browser-native production, anyone can access a full 3D asset pipeline from a Chromebook, a MacBook, or a Windows desktop—no installation, no license management. Iteration is faster: tweak your image, rerun the conversion, preview, and export—all in a single browser tab. Integrated tools mean you can move from concept to print-ready 3D model without context-switching. For creators, it’s less about the novelty and more about productivity. I’ve seen students, designers, and indie studios all benefit from browser-based 3D workspaces. They’re not perfect for every use case, but for fast iteration and accessible production, they’re the best approach right now. For more on unified browser workflows, see this deep dive.
Conclusion
Turning a single image into a print-ready 3D model isn’t just possible—it’s practical, thanks to browser-native workflows. Start with a clear, well-composed source image. Use the right browser-based tools to convert, refine, and export your asset. Spend time on geometry cleanup and always preview before printing. The result: faster iteration, fewer headaches, and real physical objects you can hold in your hand. To explore more workflows, check out the TimrX Hub, visit the 3D Print workspace, or read more in the TimrX blogs and archive. The tools are ready—now it’s your turn to create.
FAQ
- Can I turn a photo into a printable 3D model?
Yes, with browser-based tools like TimrX Image to 3D, you can convert clear photos into print-ready models. Results depend on image quality. - What images produce the best 3D models?
Images with clear silhouettes, high contrast, and simple backgrounds work best. Product photos, clean sketches, and digital illustrations are ideal. - Do I need Blender to prepare a printable model?
No. Browser-native tools handle conversion, geometry cleanup, and export. You only need Blender for advanced edits or custom modifications. - What file format should I export?
GLB or GLTF for browser workflows and asset pipelines. STL or OBJ for most 3D printers. See this file format guide. - How can I improve image-to-3D results?
Use high-quality, clean images. Refine geometry in the browser. Make sure your mesh is watertight and scaled for your printer.
Comments 0
Be the first to comment on this post.